Ombre Specialty Paper from Stampin’ Up! wedding card
A friend of ours is getting married, so it’s time to create a wedding card!
The inspiration for this card came when I found a packet of white paper doilies as I was going through some of my crafting stash.
Mmmm, I asked myself, “What could I do with these?”
From there, the idea for this wedding card began to form.
I decided to make a cut-out card using the doily as the focus.
But, I needed something striking for the back of the cut-out.
So, I started going through my stash of designer series paper and came across a packet of Ombre Specialty Paper.
This 12″x12″ glittery paper comes in 4 colors: Gorgeous Grape, Mango Melody, Night of Navy, and Poppy Parade. Not only do these specialty papers glimmer in fun bright colors, they also have an ombre effect (the colors gently blend from light to dark).
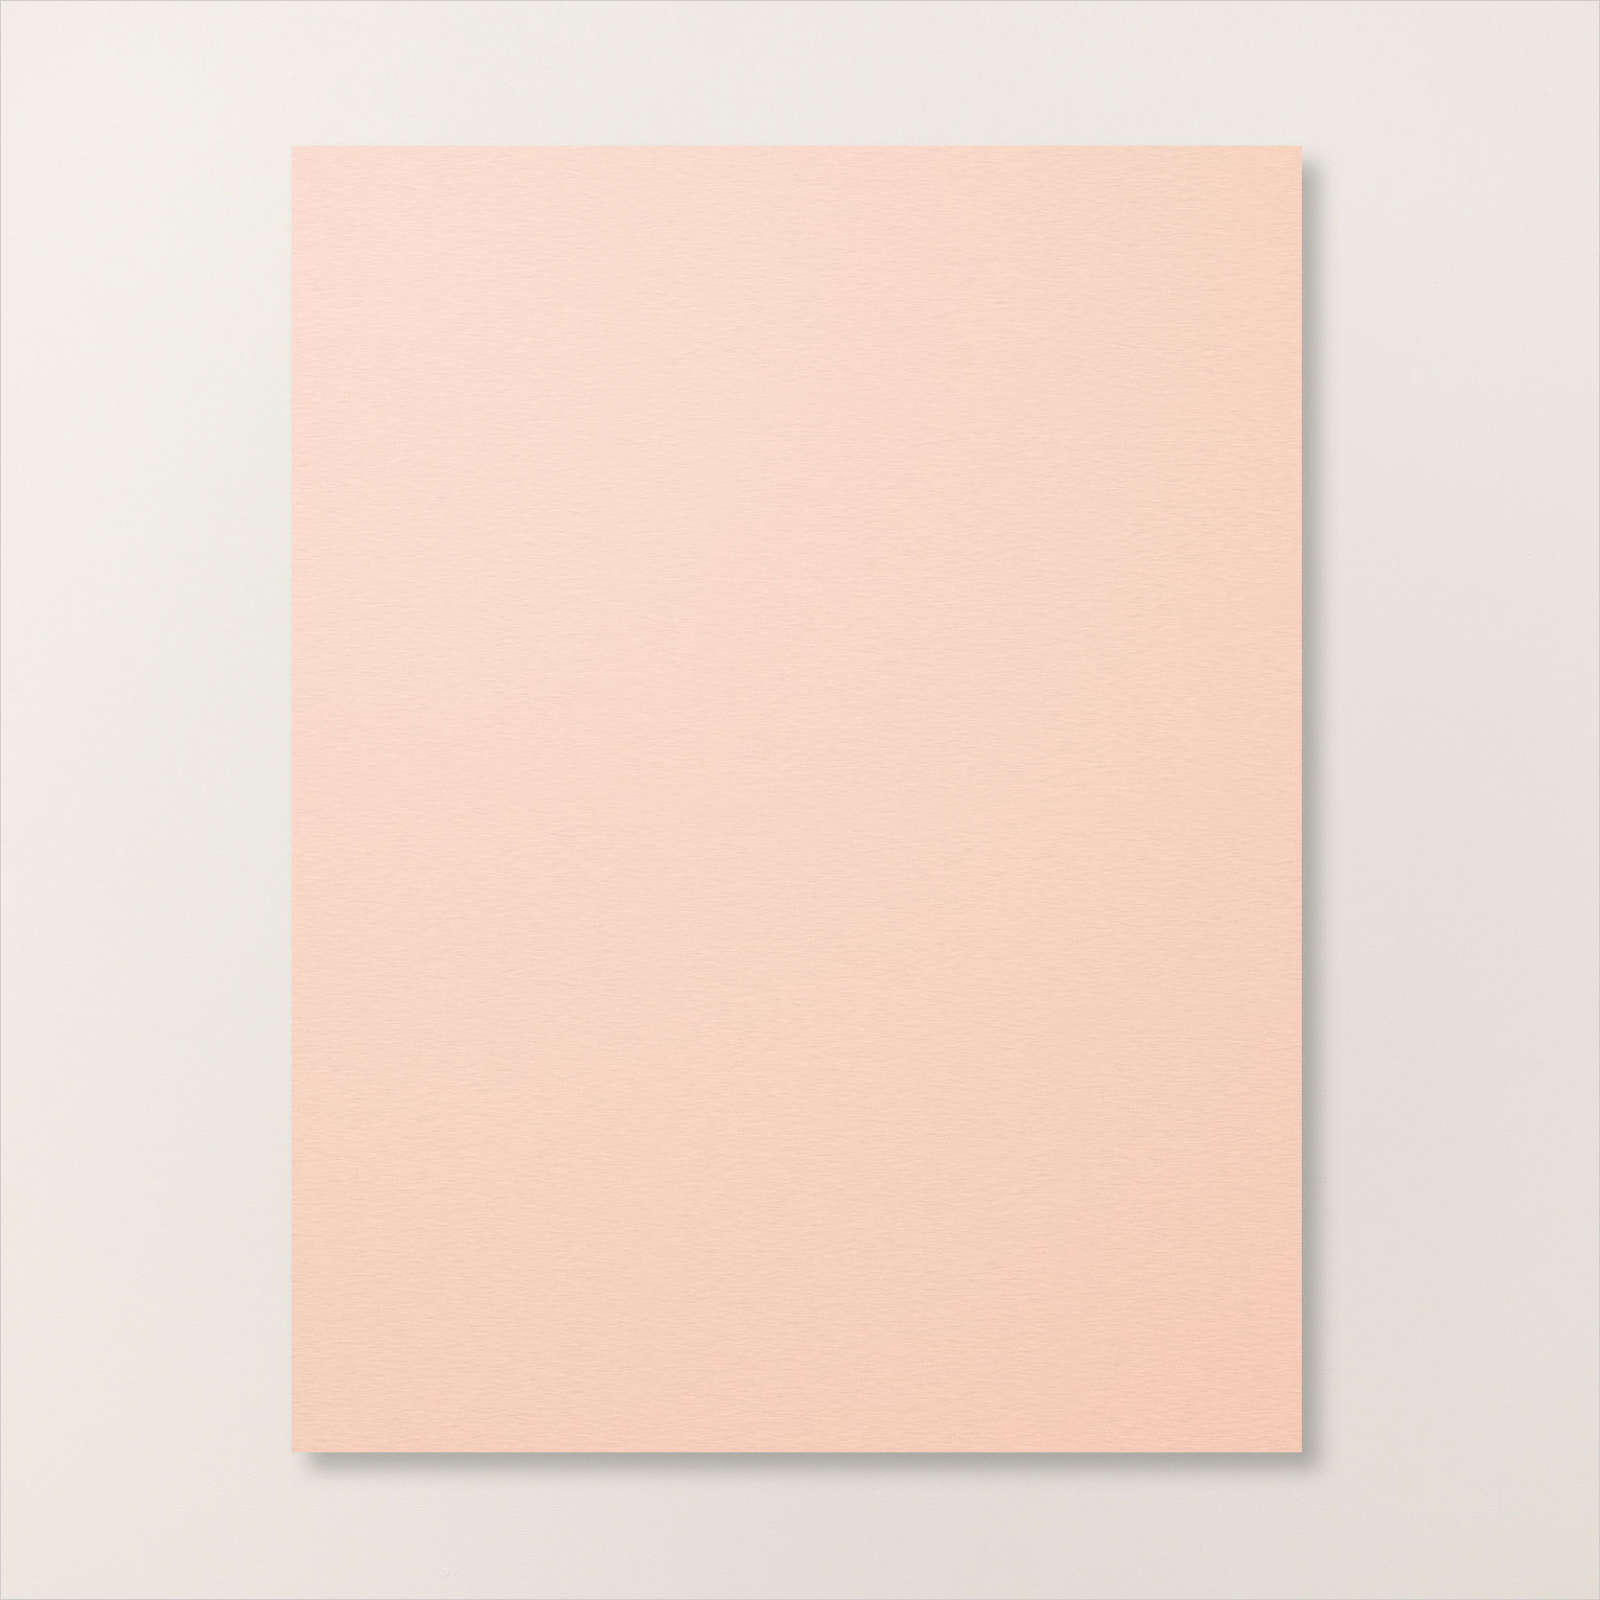
I thought the Poppy Parade color would be good for the wedding card, so I then chose Petal Pink as the color for the card front.
I thought it would compliment the light ombre shading of the Poppy Parade perfectly.
Once that was decided, the card came together rather quickly.

Here’s How:
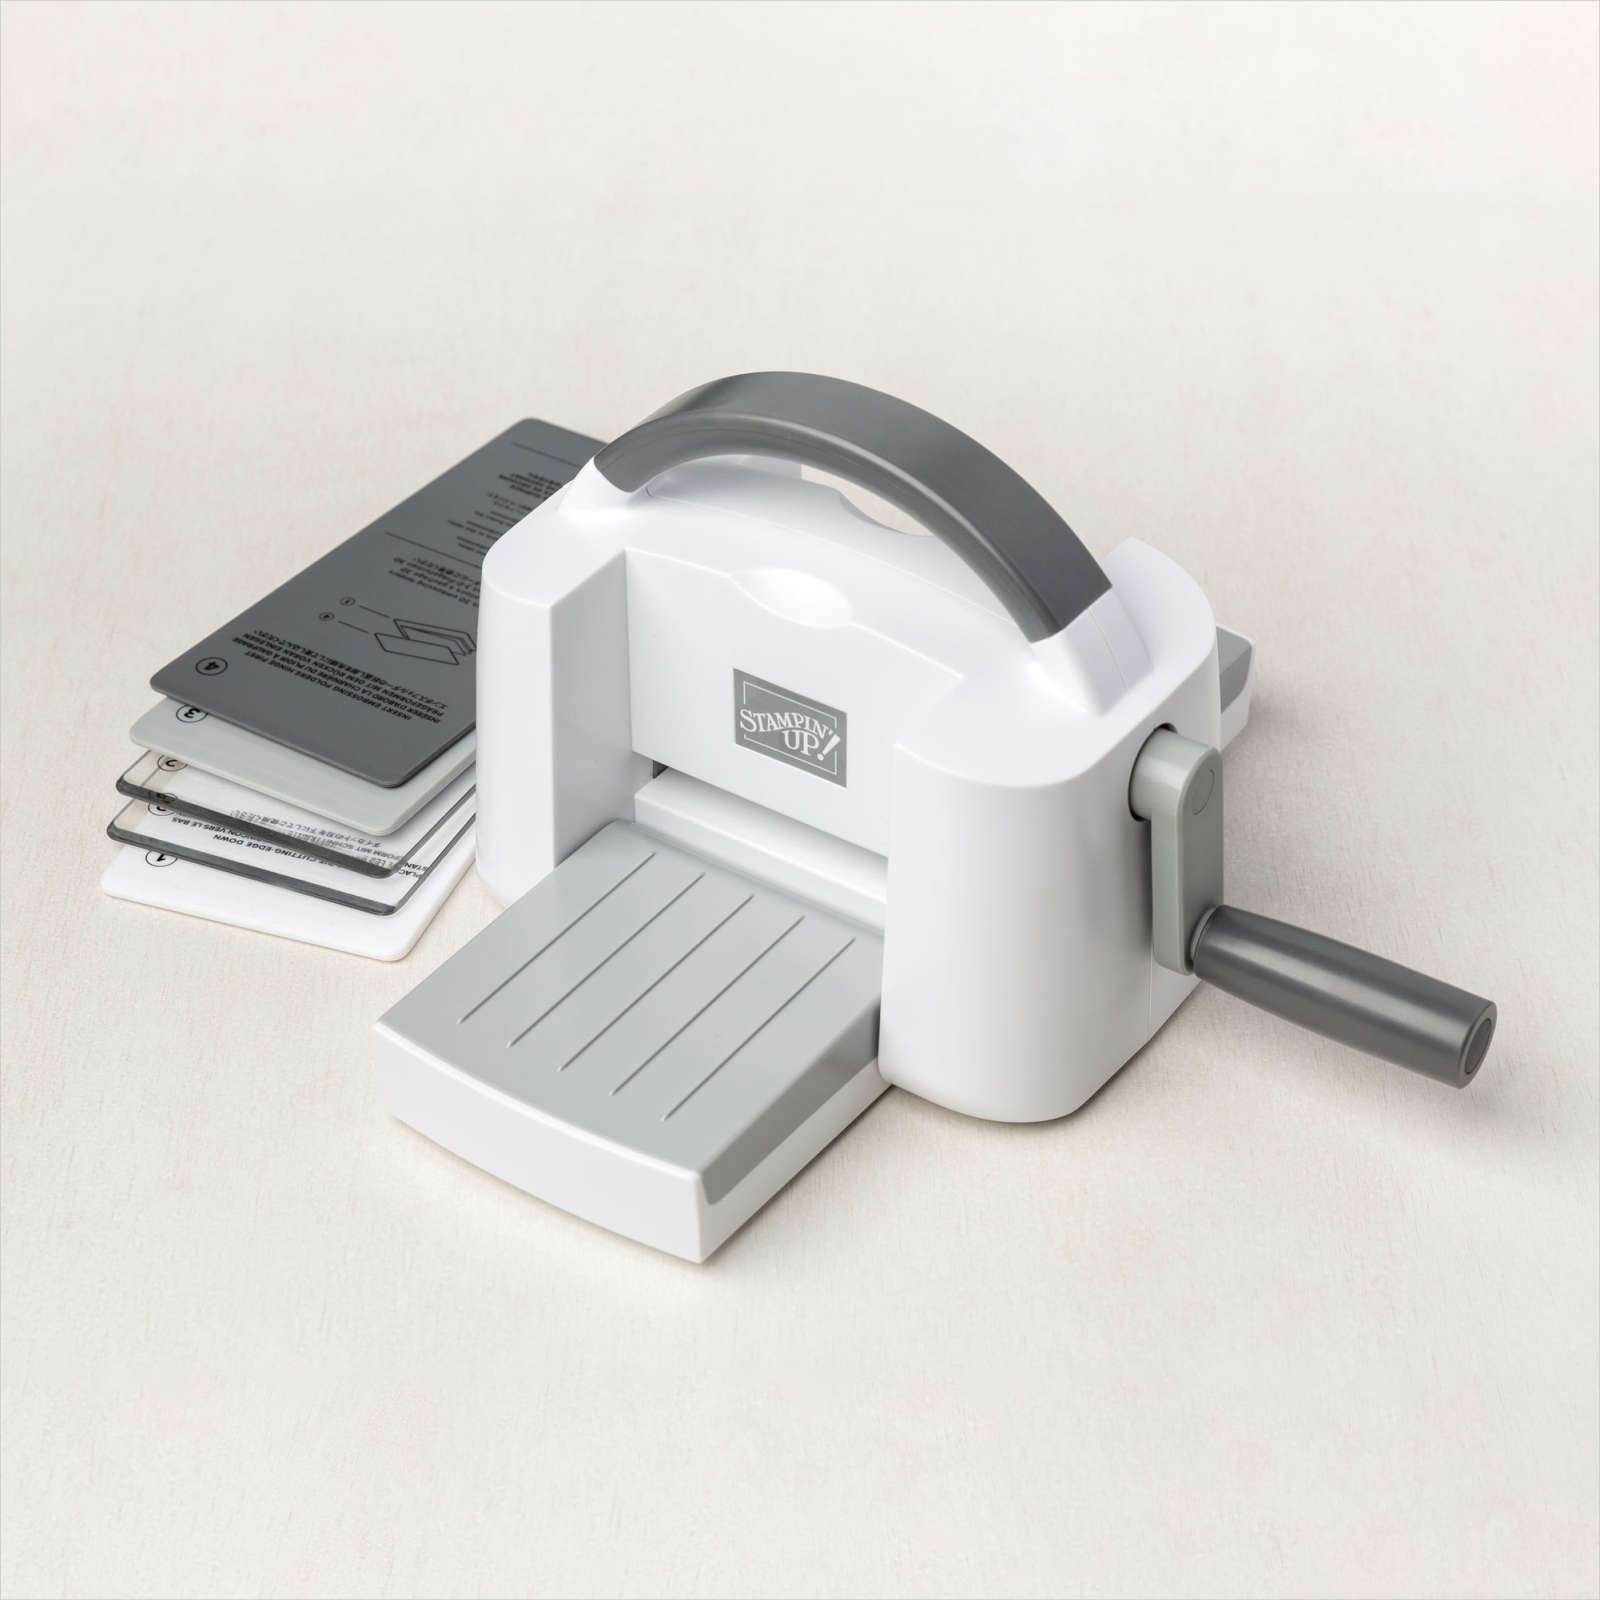
- Cut doily into a heart shape using a die-cut machine and heart die.
- Emboss Petal Pink card front using a die-cut machine and Timeworn Type Embossing Folder
- Create an opening in the Petal Pink card front using a die-cut machine and Stitched Rectangle Die.
- Adhere the heart to the back of the rectangle cut-out using Stampin’ Seal or similar.
- Attach a piece of Ombre Specialty Paper to the back of the card front, covering the rectangle opening, then attach to the Basic White card base.
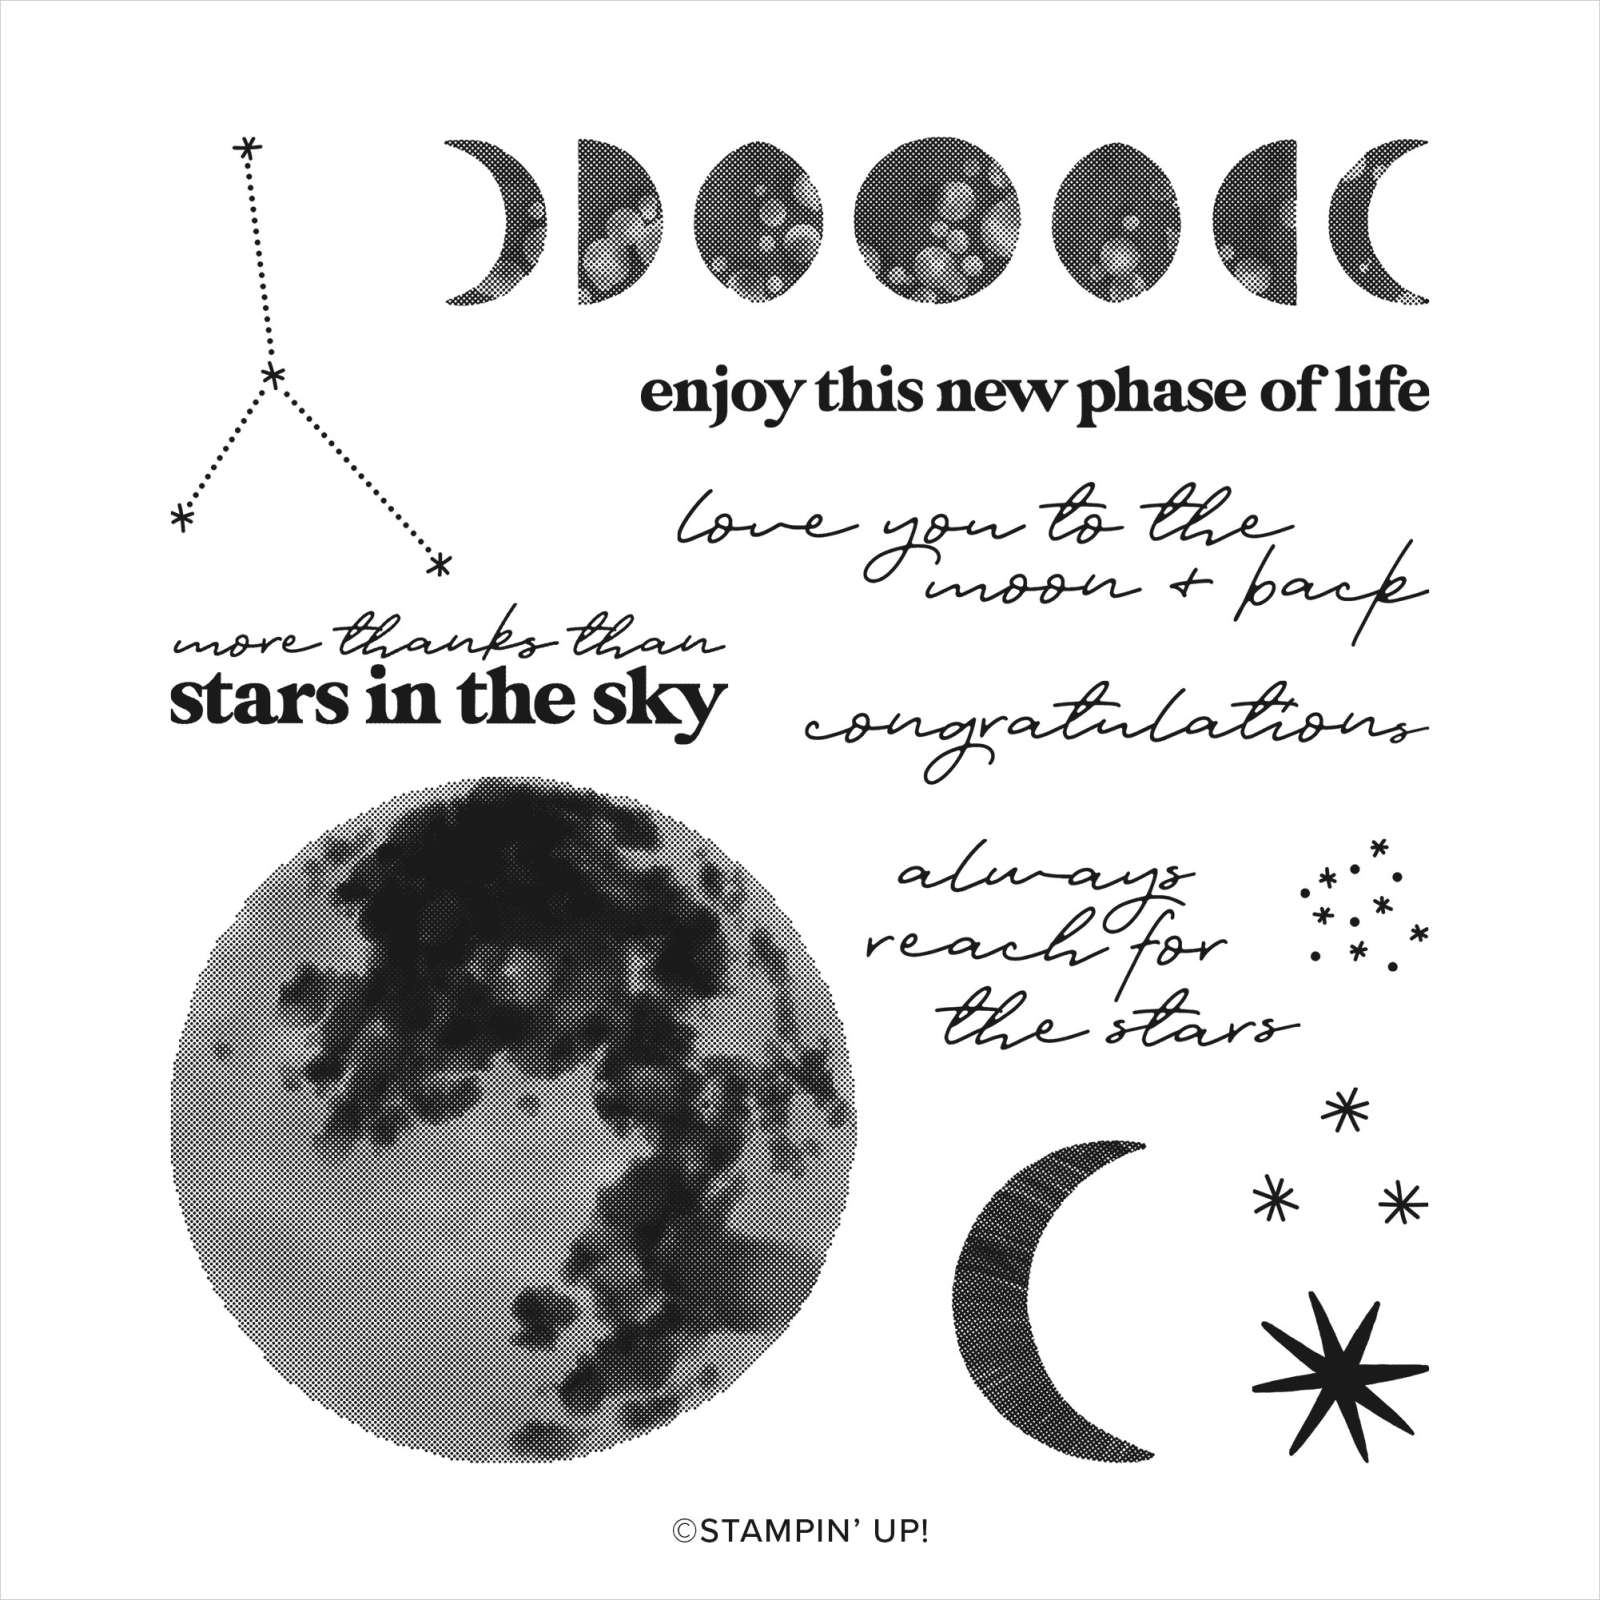
- Stamp greeting from To the Moon on a scrap piece of Basic White card stock using Basic Gray ink. Mat to a strip of Ombre Specialty Paper. Add enamel shapes (from my stash) to each side of the greeting. Attach to card front using Mini Dimensionals to pop it up.
- Tie a bow out of ribbon (from my stash) and attach using Glue Dots to complete.
Order Online 24/7: