Iris Folded Pumpkin Card

What is Iris Folding?
Iris folding is a paper craft technique that involves folding strips of colored paper in such a way to form a spiraling design. The center of the design forms an iris — similar to the shape of the iris of a camera lens.
Originally, thin papers like the insides of envelopes were used in Iris Folding. The papers would be folded in half, then the seam would be placed against the pattern.
Because I use the heavier weight designer paper, I do not fold the papers in half. This tends to add bulk to the back of the card front. Instead, I use a single strip of paper.
You can see more of Iris Folding Cards Here
Here’s How to create this Iris Folded Pumpkin Card:
- Print pumpkin pattern. (I found this pattern on Craft with Sarah.) I reduced the original pattern by 78% and printed 2 copies.
- Cut out pumpkin from one copy. This will be the stencil/pattern you will trace onto your card front.
- Lay stencil on card front. Trace along the inside with a pencil, and then cut out with a pair of scissors.
- Emboss or stamp card front. It is easier to do this now, rather than later with the bulk of the paper strips on the back. I embossed my card front with the Brick & Mortar embossing folder.
- Turn card front over, placing it on top of the 2nd pumpkin pattern. Attach a strip of washi or painter’s tape to one side, creating a hinge. This will allow you to lift up the card front and check your progress. Remember, with Iris Folding, you always work from the BACK of the card front.
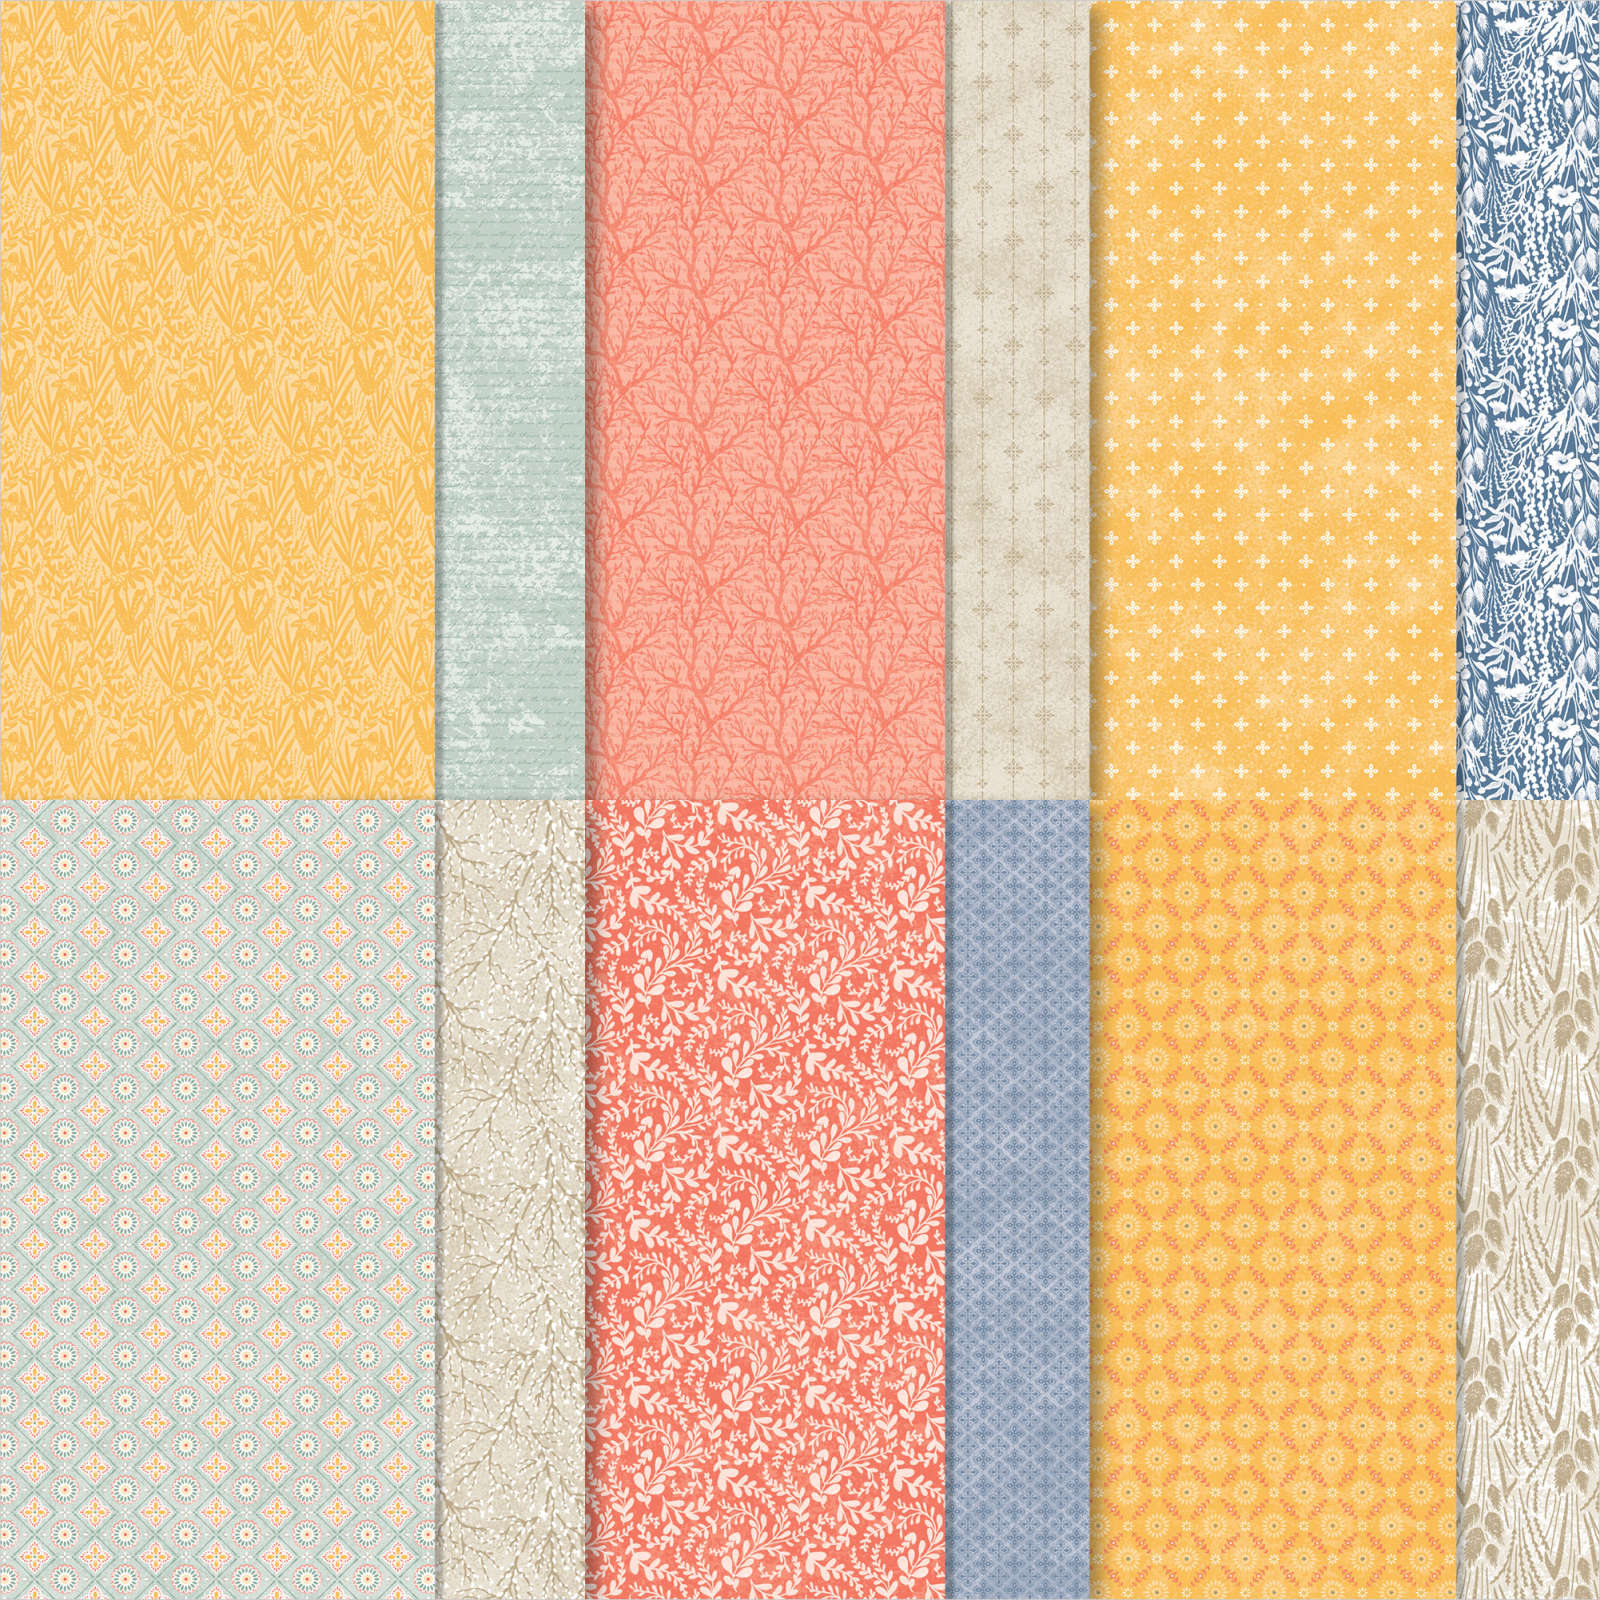
- Cut 1/2″ x 12″ strips of pattern paper. I used 4 designs of Harvest Meadow Designer Series Paper. Lay the strips in the order in which you will be using them. Remember, the side you want to show will be FACE down. You may want to number the strips 1-4 to help you keep track. Although this is a fairly simple pattern, it can get complicated with the higher number of designs needed.
- Apply adhesive to the back of the card front. I used Stampin’ Seal.
- Following the pattern on the copy paper underneath the card front, attach the first strip of paper face down along the edge of number 1 on the pattern. Attach the second strip of paper along the edge of number 2 on the pattern. Continue with the third strip of paper along the edge of number 3 on the pattern and the fourth strip of paper along the edge of number 4 on the pattern. Continue all around until the pattern is complete, and you have an empty center. This is the Iris.
- Remove the washi tape. Turn the piece over and attach a piece of shimmery or special paper over the iris. I used a piece of gold glimmer paper from my stash.
- Attach to Bumblebee mat. Attach to Calypso Coral card base.
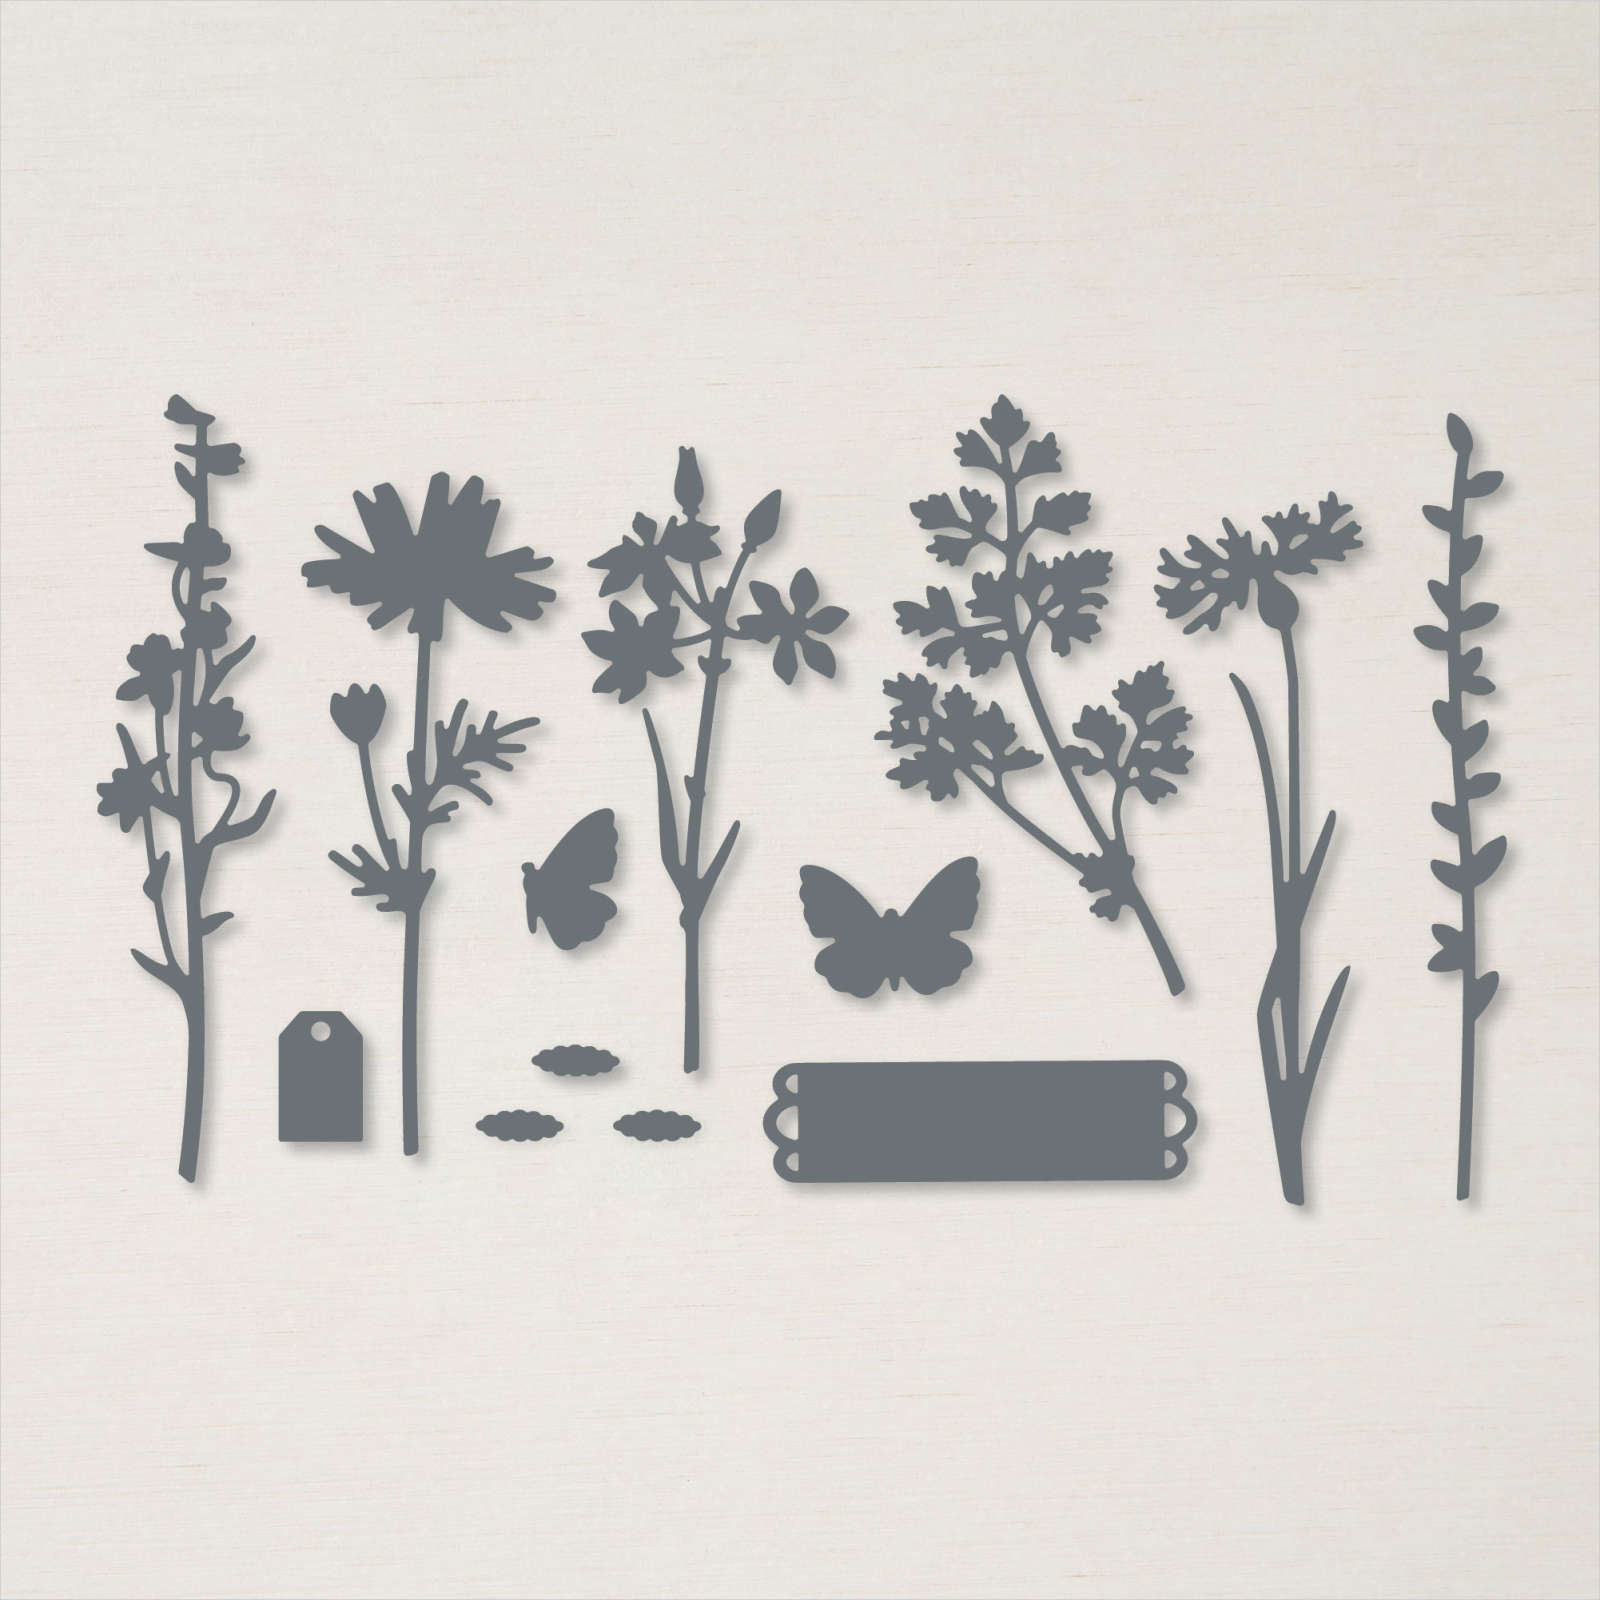
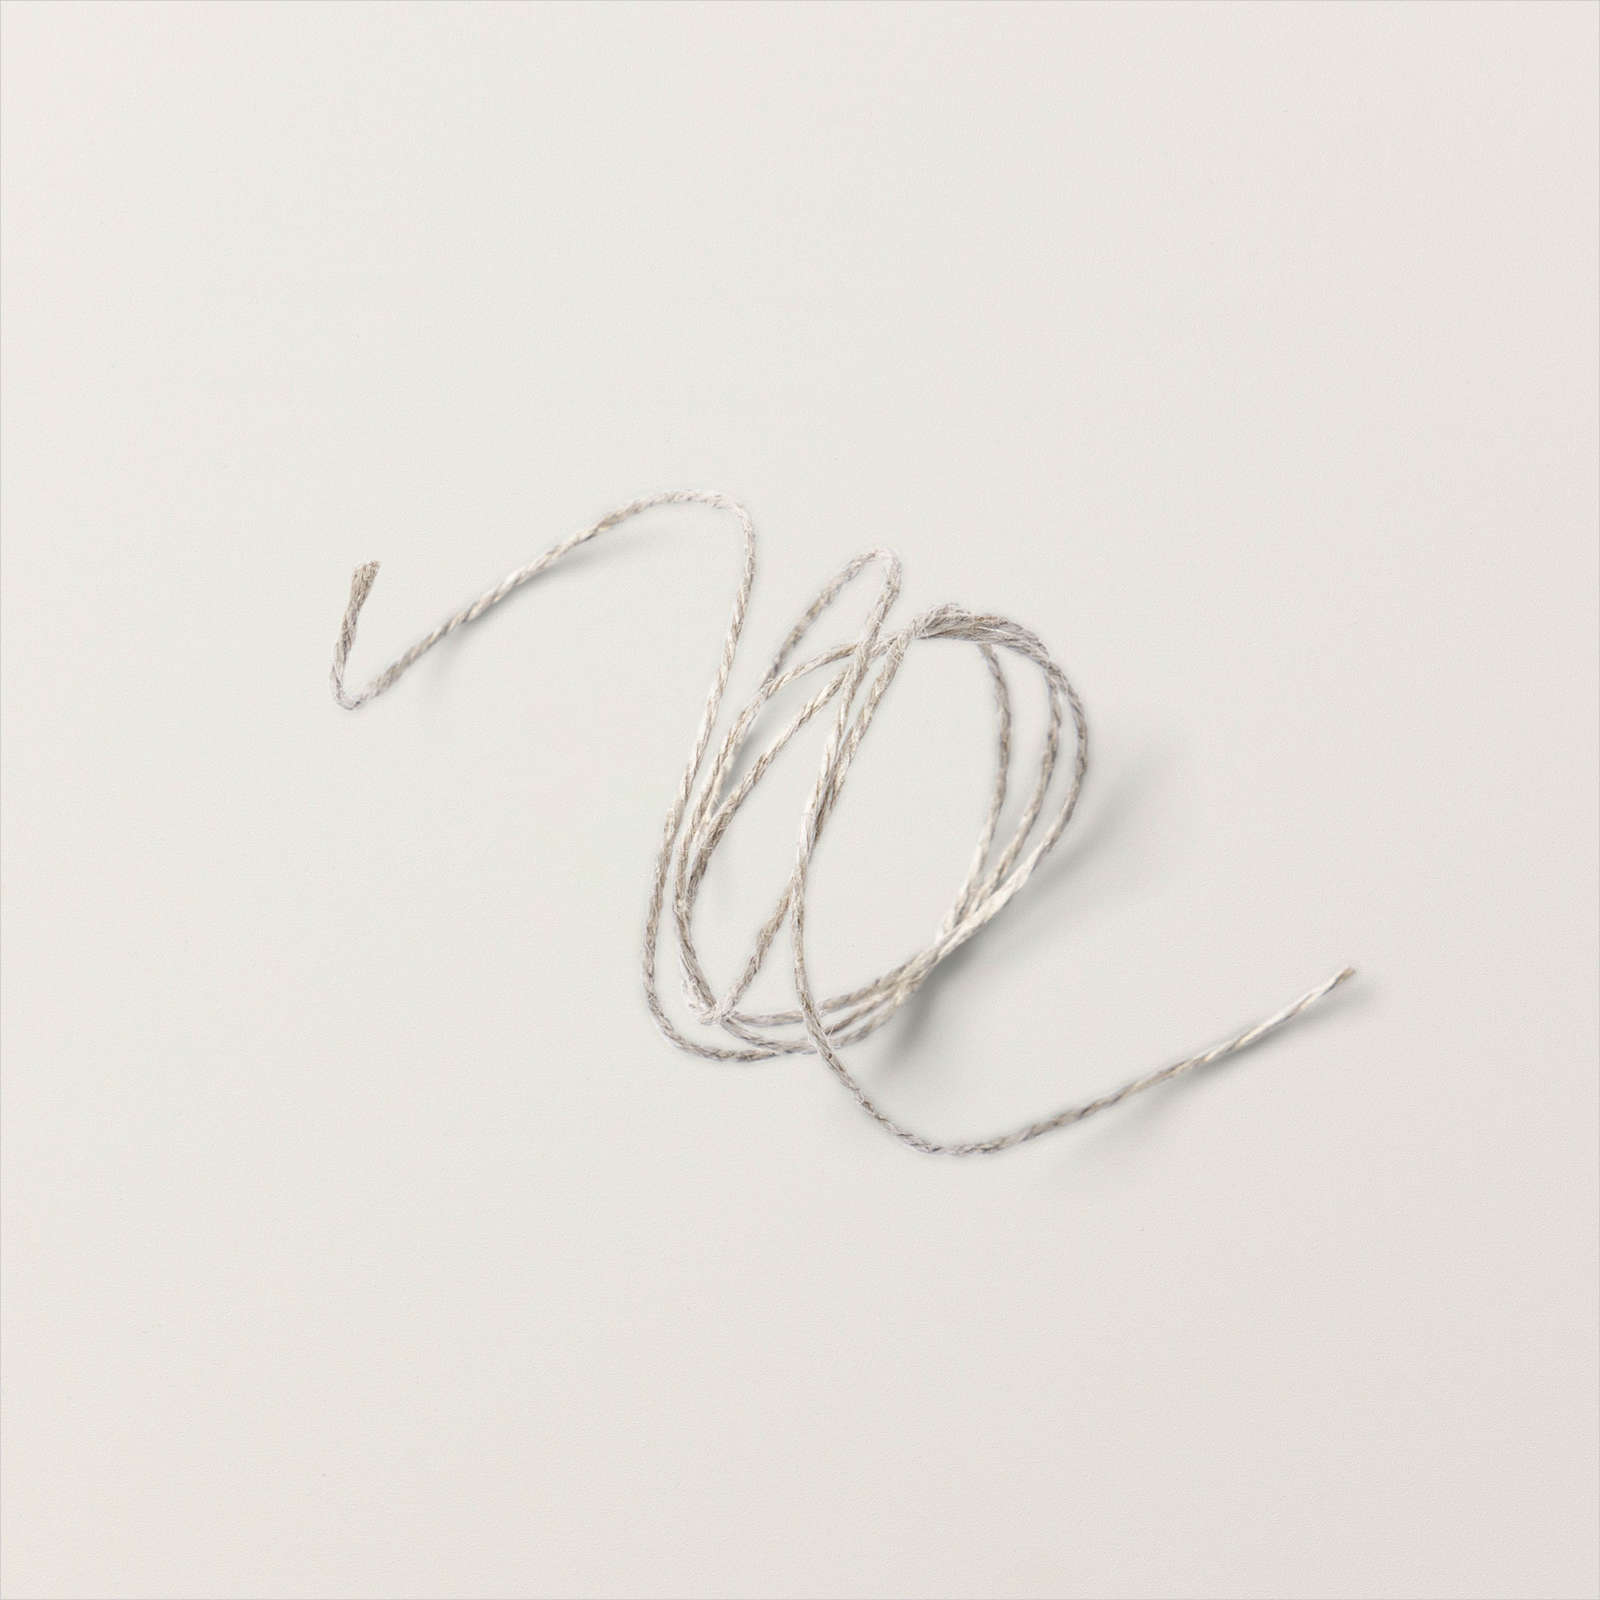
- Cut leaves out of Rainbow Glimmer paper using a die-cut machine and Quiet Meadow die. Cut narrow strips of Rainbow Glimmer paper and curl with tips of scissors, creating the vines. Attach to top of pumpkin using a small amount of Tombow glue. Attach leaves. Stamp greeting (retired Teeny Tiny Wishes) on scrap piece of Bumblebee card stock using Cajun Craze ink. Banner cut one end. Attach to card front using Mini Dimensionals to pop it up. Tie a bow out of Linen Thread and attach using a Mini Glue Dot to complete.
Watch how-to video on YouTube:

Shop Online 24/7: