Gilded Leafing Tips!
Add gold shimmer to your projects using Gilded Leafing from Stampin’ Up!

I paired the Gilded Leafing with the fun Floral Squares Dies to create a set of clean and simple mini or gift cards. These cards really shimmer in person!
Using the Gilded Leafing is easy!
Let me share some Gilded Leafing tips.
Here’s How:
- Apply a thin layer of Tombow Glue onto a 2 1/4″ square piece of Very Vanilla card stock using a paint brush. As an alternative, you can use a 2″ square piece of Adhesive Sheets. Peel the backing off one side, attach to card stock, and then peel off the top, leaving a sticky surface. Since I didn’t have any Adhesive Sheets, I used Tombow Glue instead. I think it worked just fine
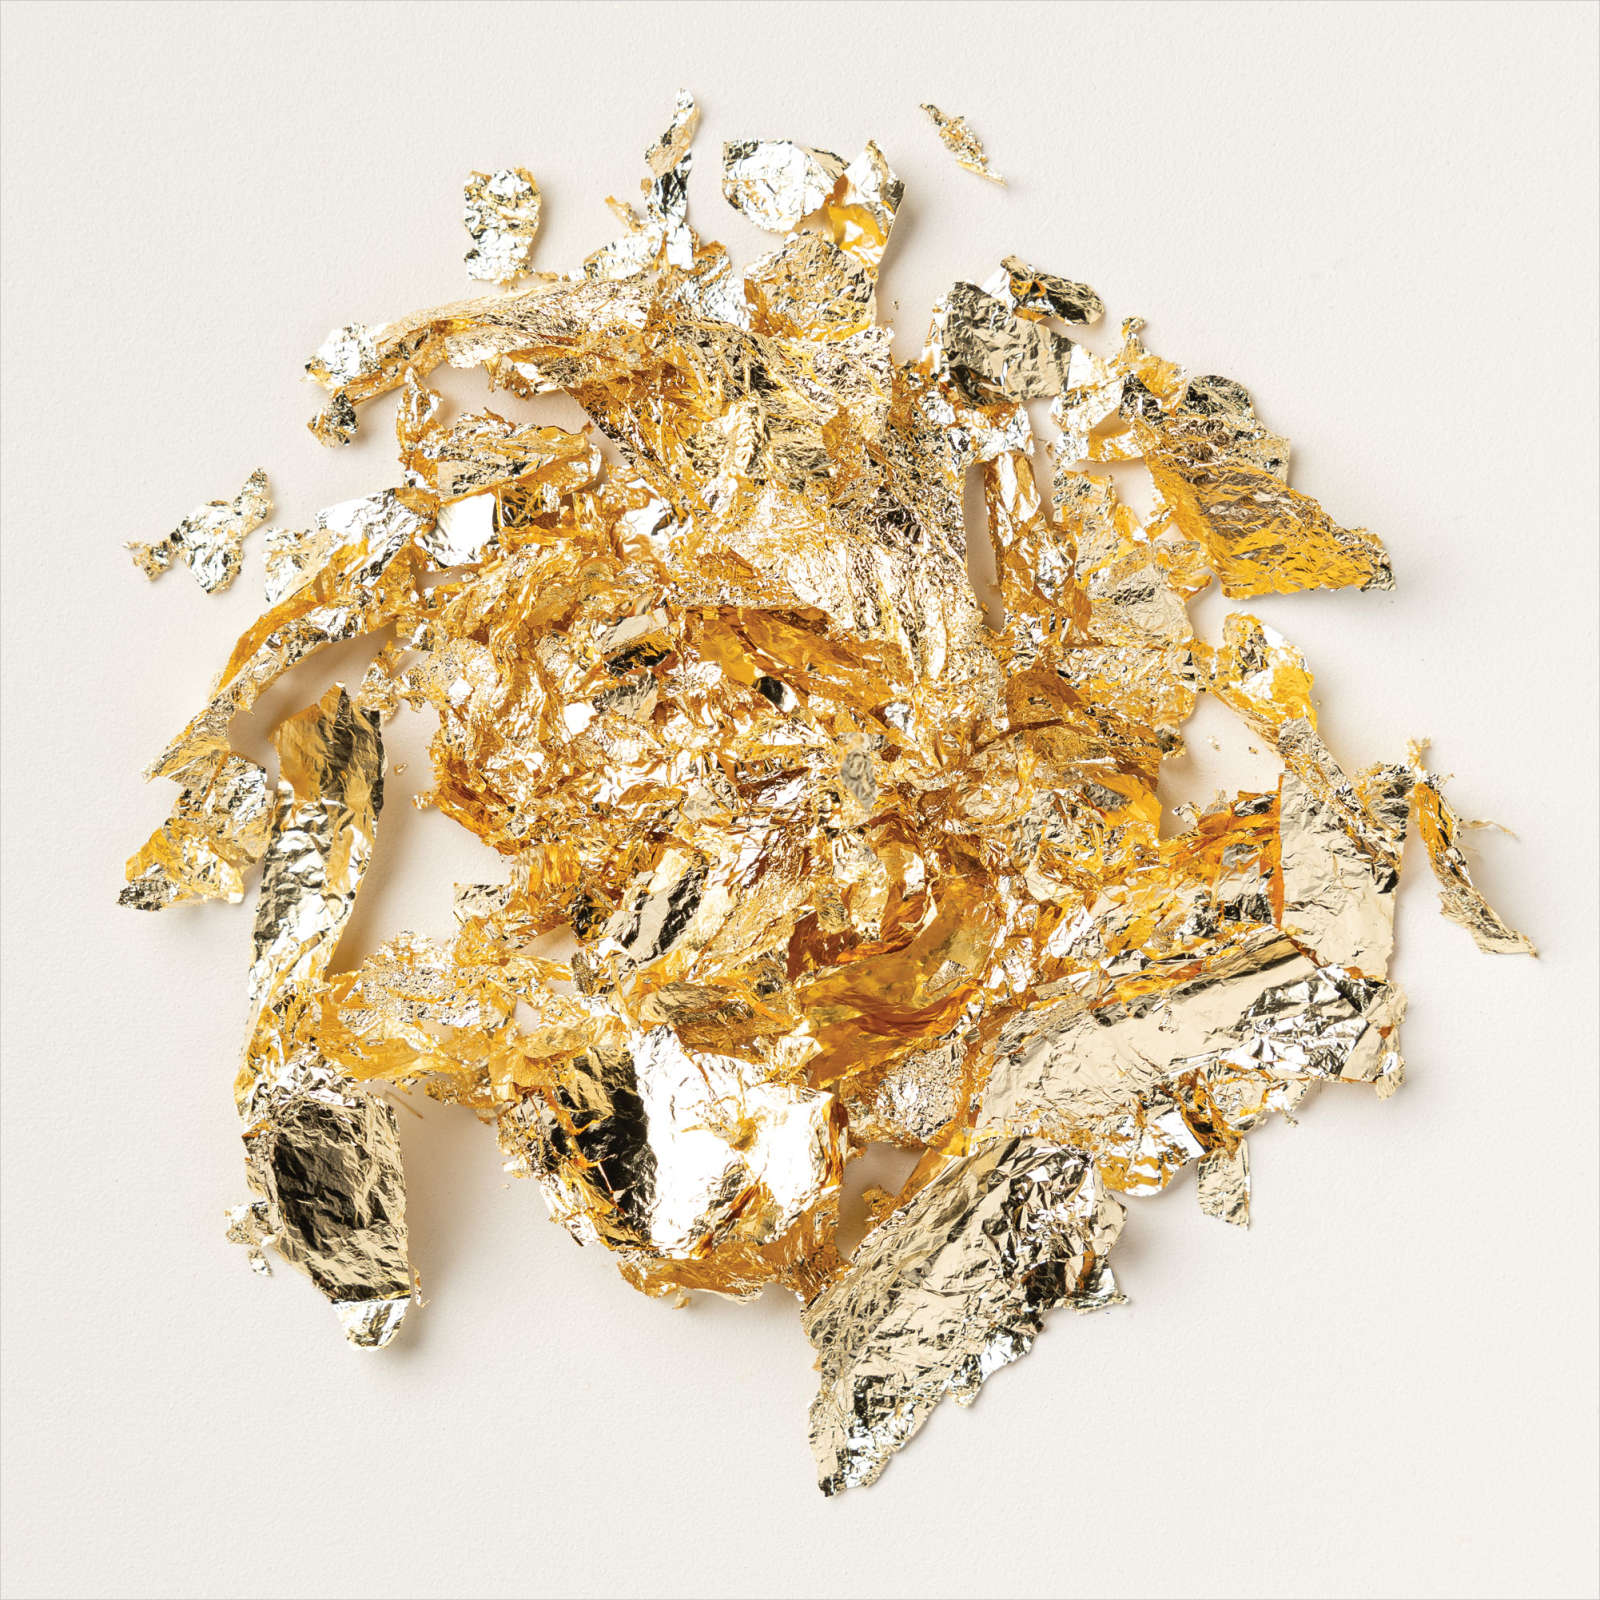
- Pick up a pile of the Gilded Leafing from the jar and place on the glue. Work it into the glue using your fingertips. Keep working it to remove any excess and smoothing it out.
That’s it!
Now to finish the cards.
3. Cut designs out of Basic Black card stock using a die-cut machine and Floral Squares Dies. There are 4 designs in the die set.
4. Attach Gilded Leafing squares to Basic Black mat. Add Floral Squares using a small amount of Tombow Glue. Adhere to Very Vanilla card base. Final measurements are approx. 2 3/4″ x 3 1/4″.
5. Stamp greeting using Memento Black ink. I used greetings from Blossoms in Bloom and Quiet Meadow stamp sets.
6. Attach Elegant Faced Gems, Gilded Gems, and or Matte Black Dots to complete.