Matchbook Card Technique
a fun and easy fold, paired with Fresh as a Daisy DSP!
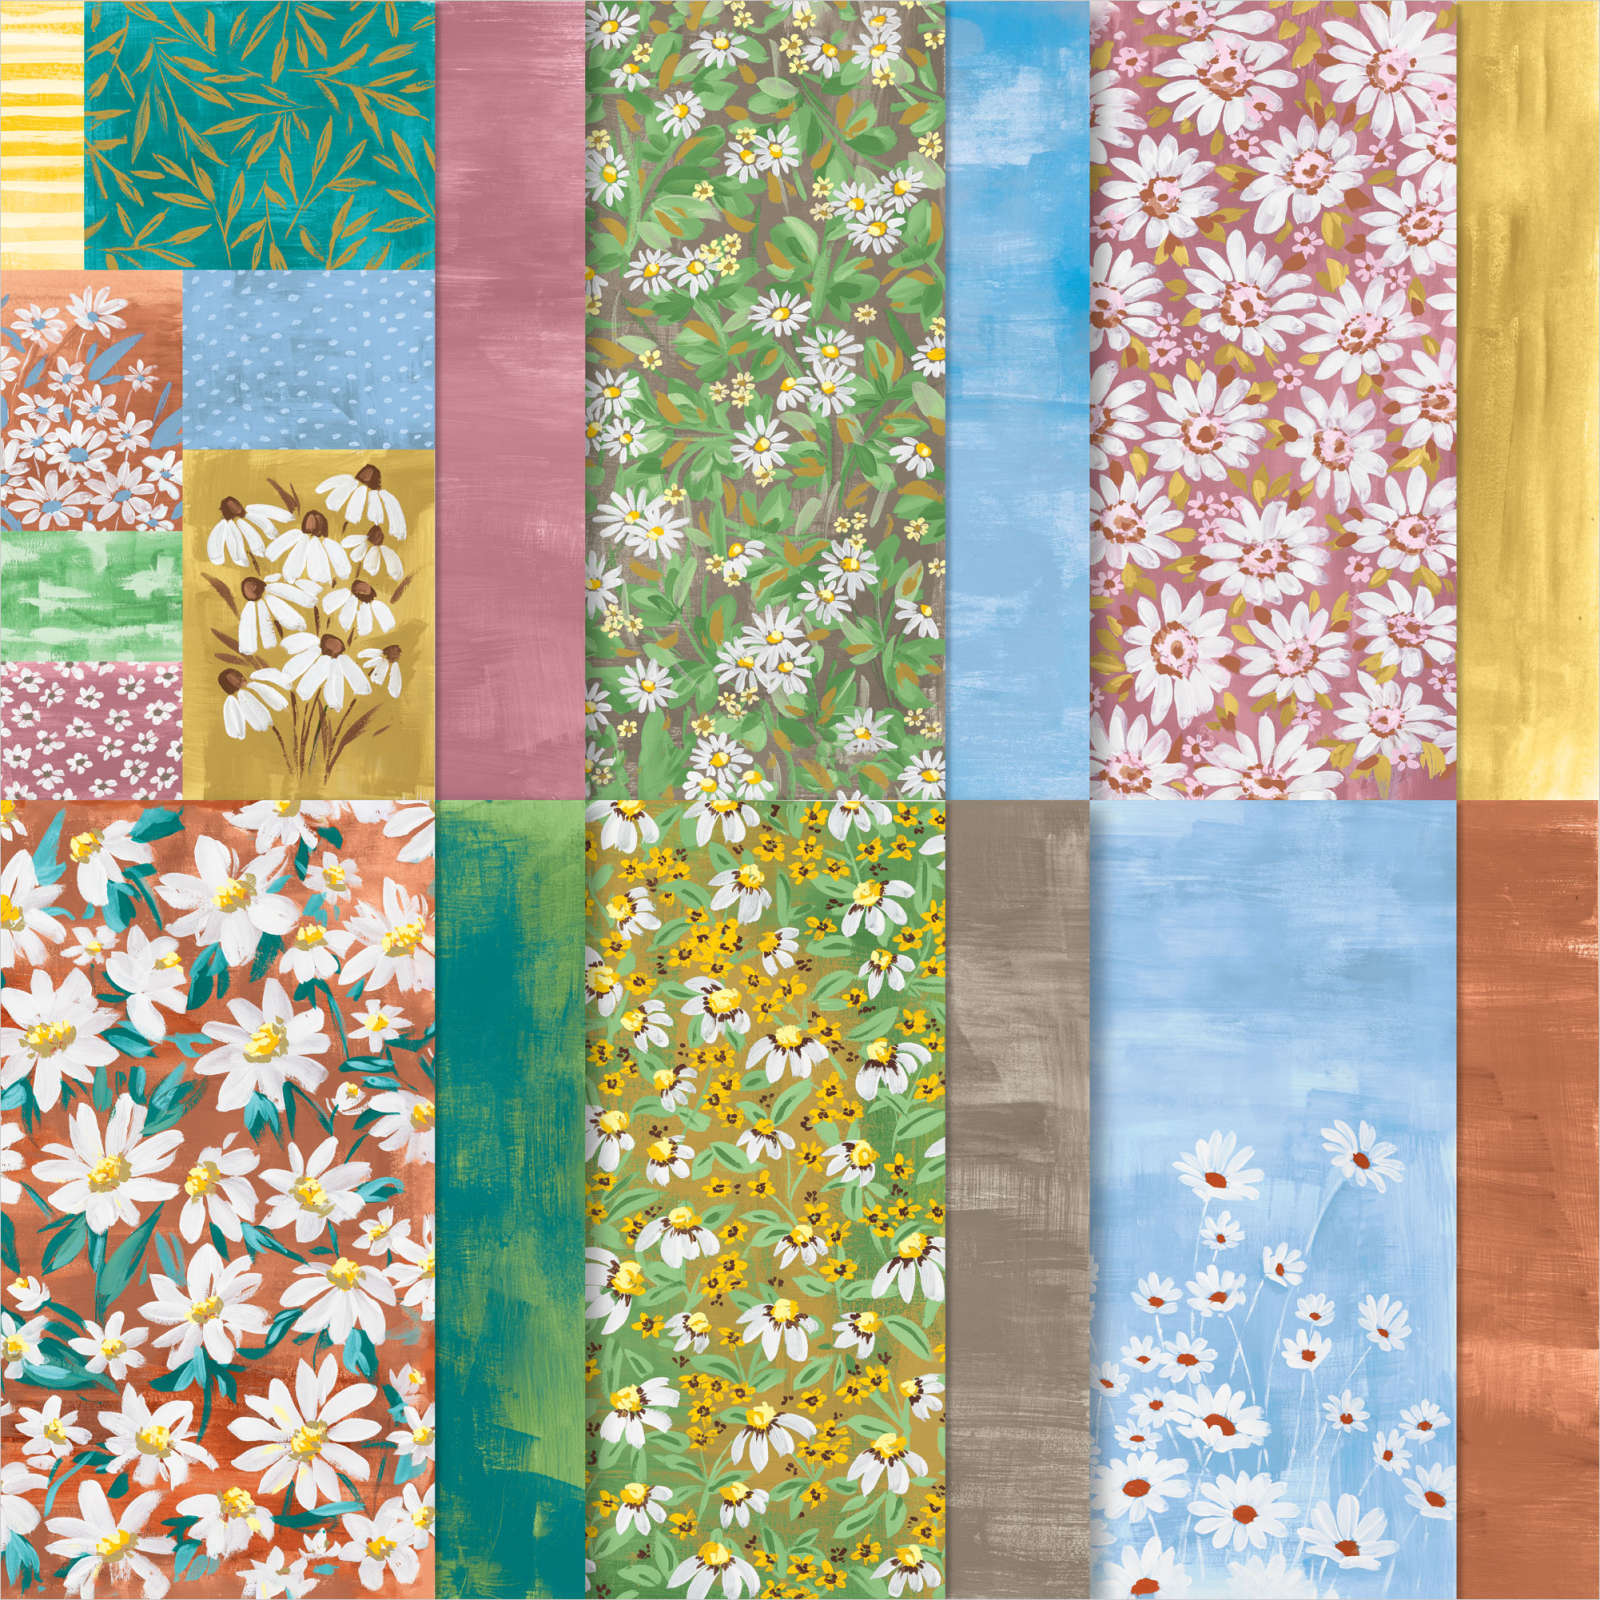
Have you seen the Fresh as a Daisy Designer Series Paper from Stampin’ Up!?
Daisies make any day feel brighter.
The paper pack is loaded with happy flowers—you can’t help but feel the cheer!
One side of each sheet is abloom with daisies; the other has a subtle wash design that complements any project.
And this design includes multiple individual pieces that you can cut out and use on card fronts, so creating cards is quick and easy.
For this card, I paired the Matchbook Card Technique with this panel of Fresh as a Daisy DSP.
You can see more of my Matchbook Cards HERE
Be sure to watch my 2022 Matchbook Card Tutorial How-To Video HERE
Matchbook Card

Here’s How:
Paper Dimensions:
Basic White card base: 4 1/4″ x 6 1/2″ scored at 1″ on the bottom
Early Espresso mat: 4″ x 5 1/4″
Fresh as a Daisy DSP cover: 3 3/4″ x 5 1/2″ scored at 7/8″ on the top
Wild Wheat Insert: 3 3/4″ x 4 1/2″
Early Espresso: 3/4″ x 4″
Scrap Basic White
1. Cut and score pieces per the measurements above (or in my 2022 how-to video). Fold along the score lines using a bone folder to get a crisp crease.
2. Attach the Early Espresso mat to the Basic White card base.
3. Attach the Wild Wheat insert to the Fresh as a Daisy cover on the inside of the scored tab. Attach to mat and card base.
4. Apply a thin line of Tombow glue on the bottom of the insert, just above the score line on the bottom tab. Fold the tab up. Run a bone folder along the flap to get a good seal. Set aside to dry.
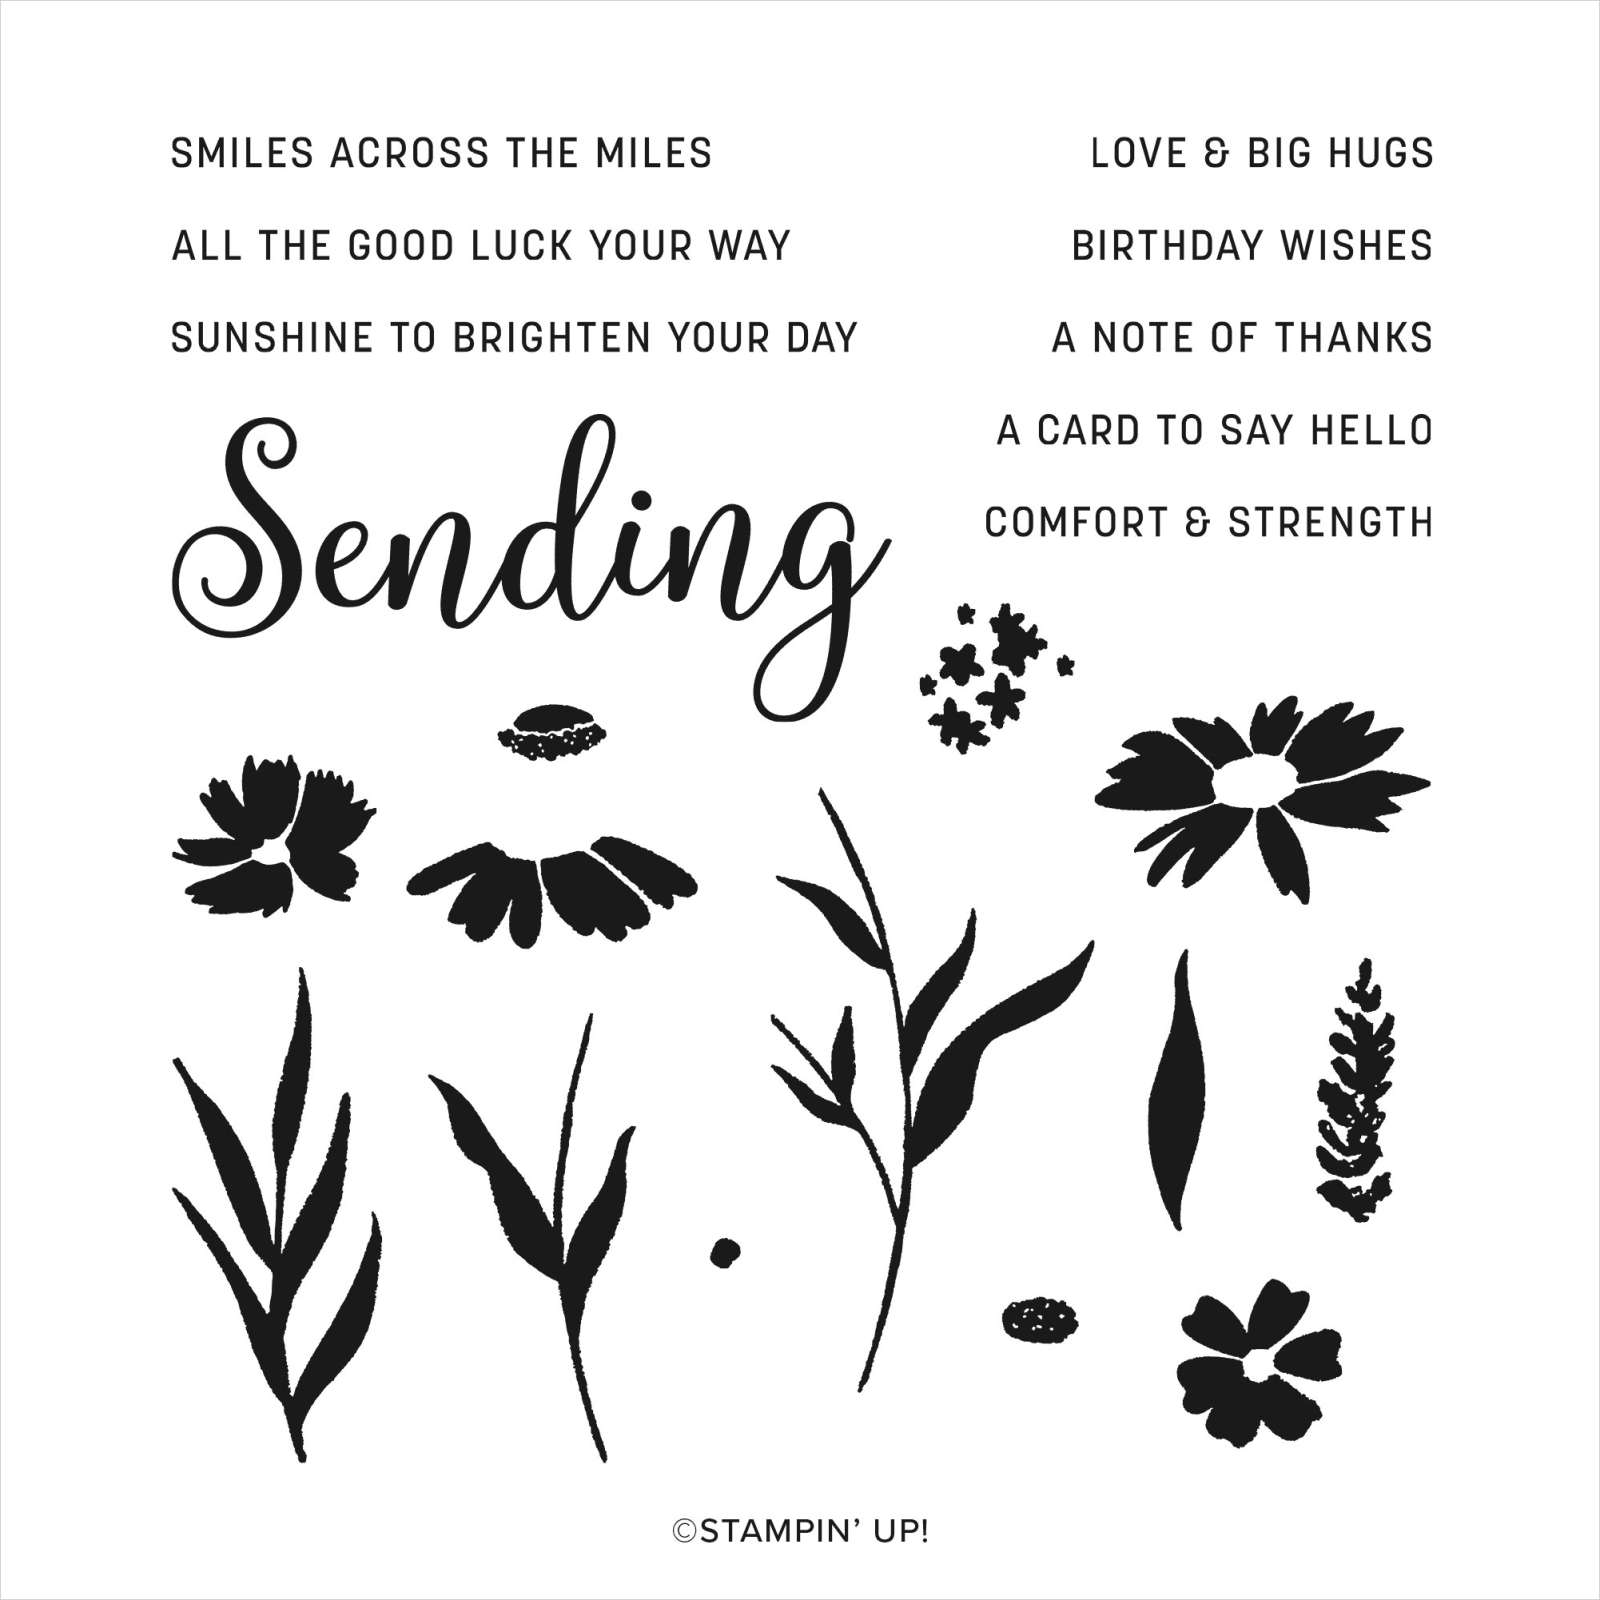
5. Stamp greeting from Sending Wishes on a scrap piece of Basic White card stock using Early Espresso ink. Sponge Wild Wheat ink along the edges.
6. Attach the Early Espresso card stock strip to the bottom tab. Add the greeting using Mini Dimensionals to pop it up.
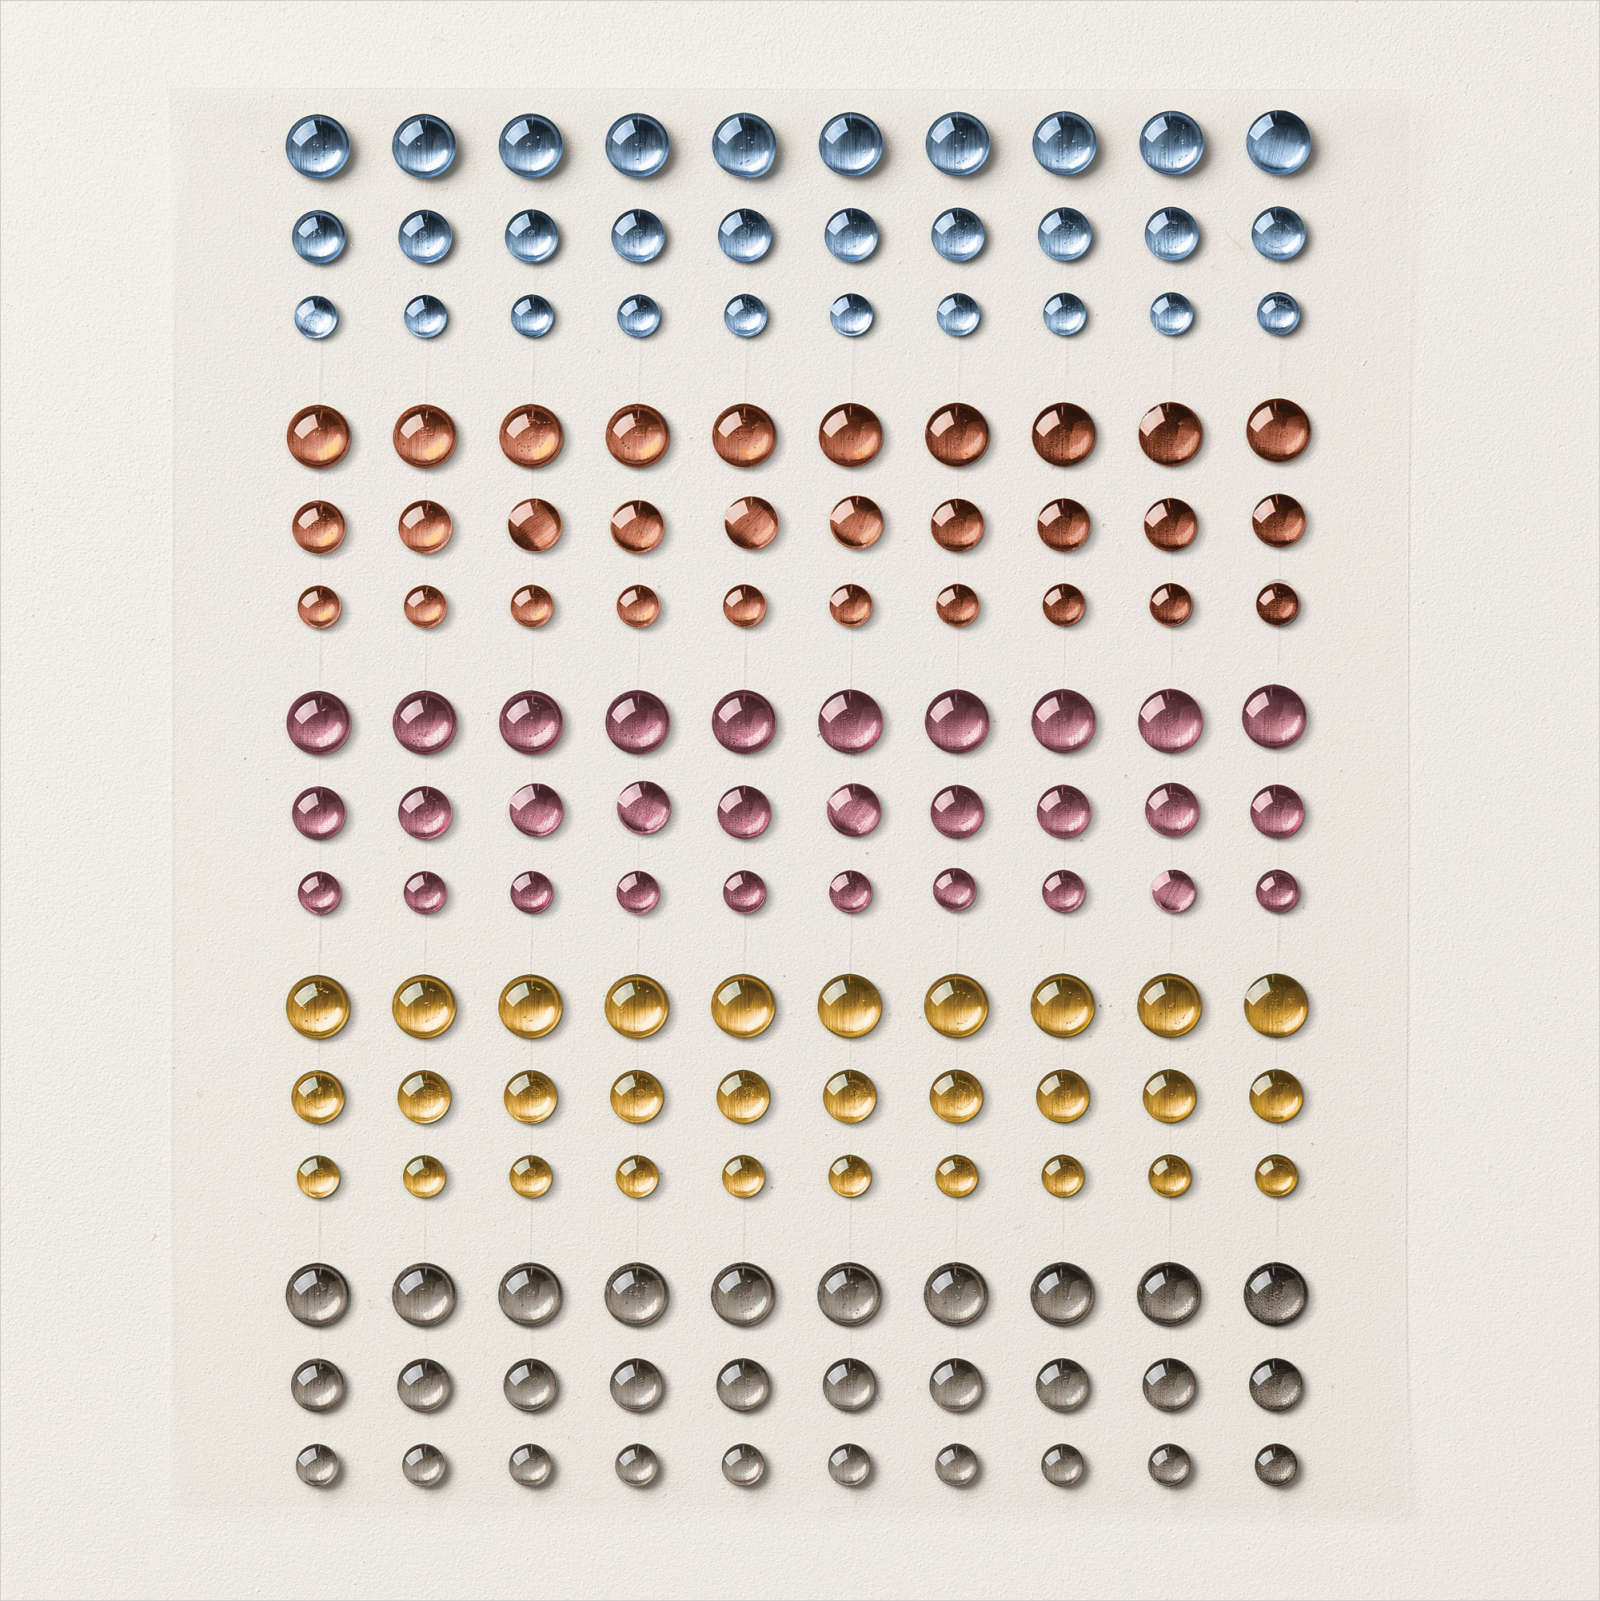
7. Add 2023-2025 In Color Dots.
To close the Matchbook Card, slip the DSP panel inside the bottom tab.
The possibilities are endless!


