Cosmic Background-Under the Moon
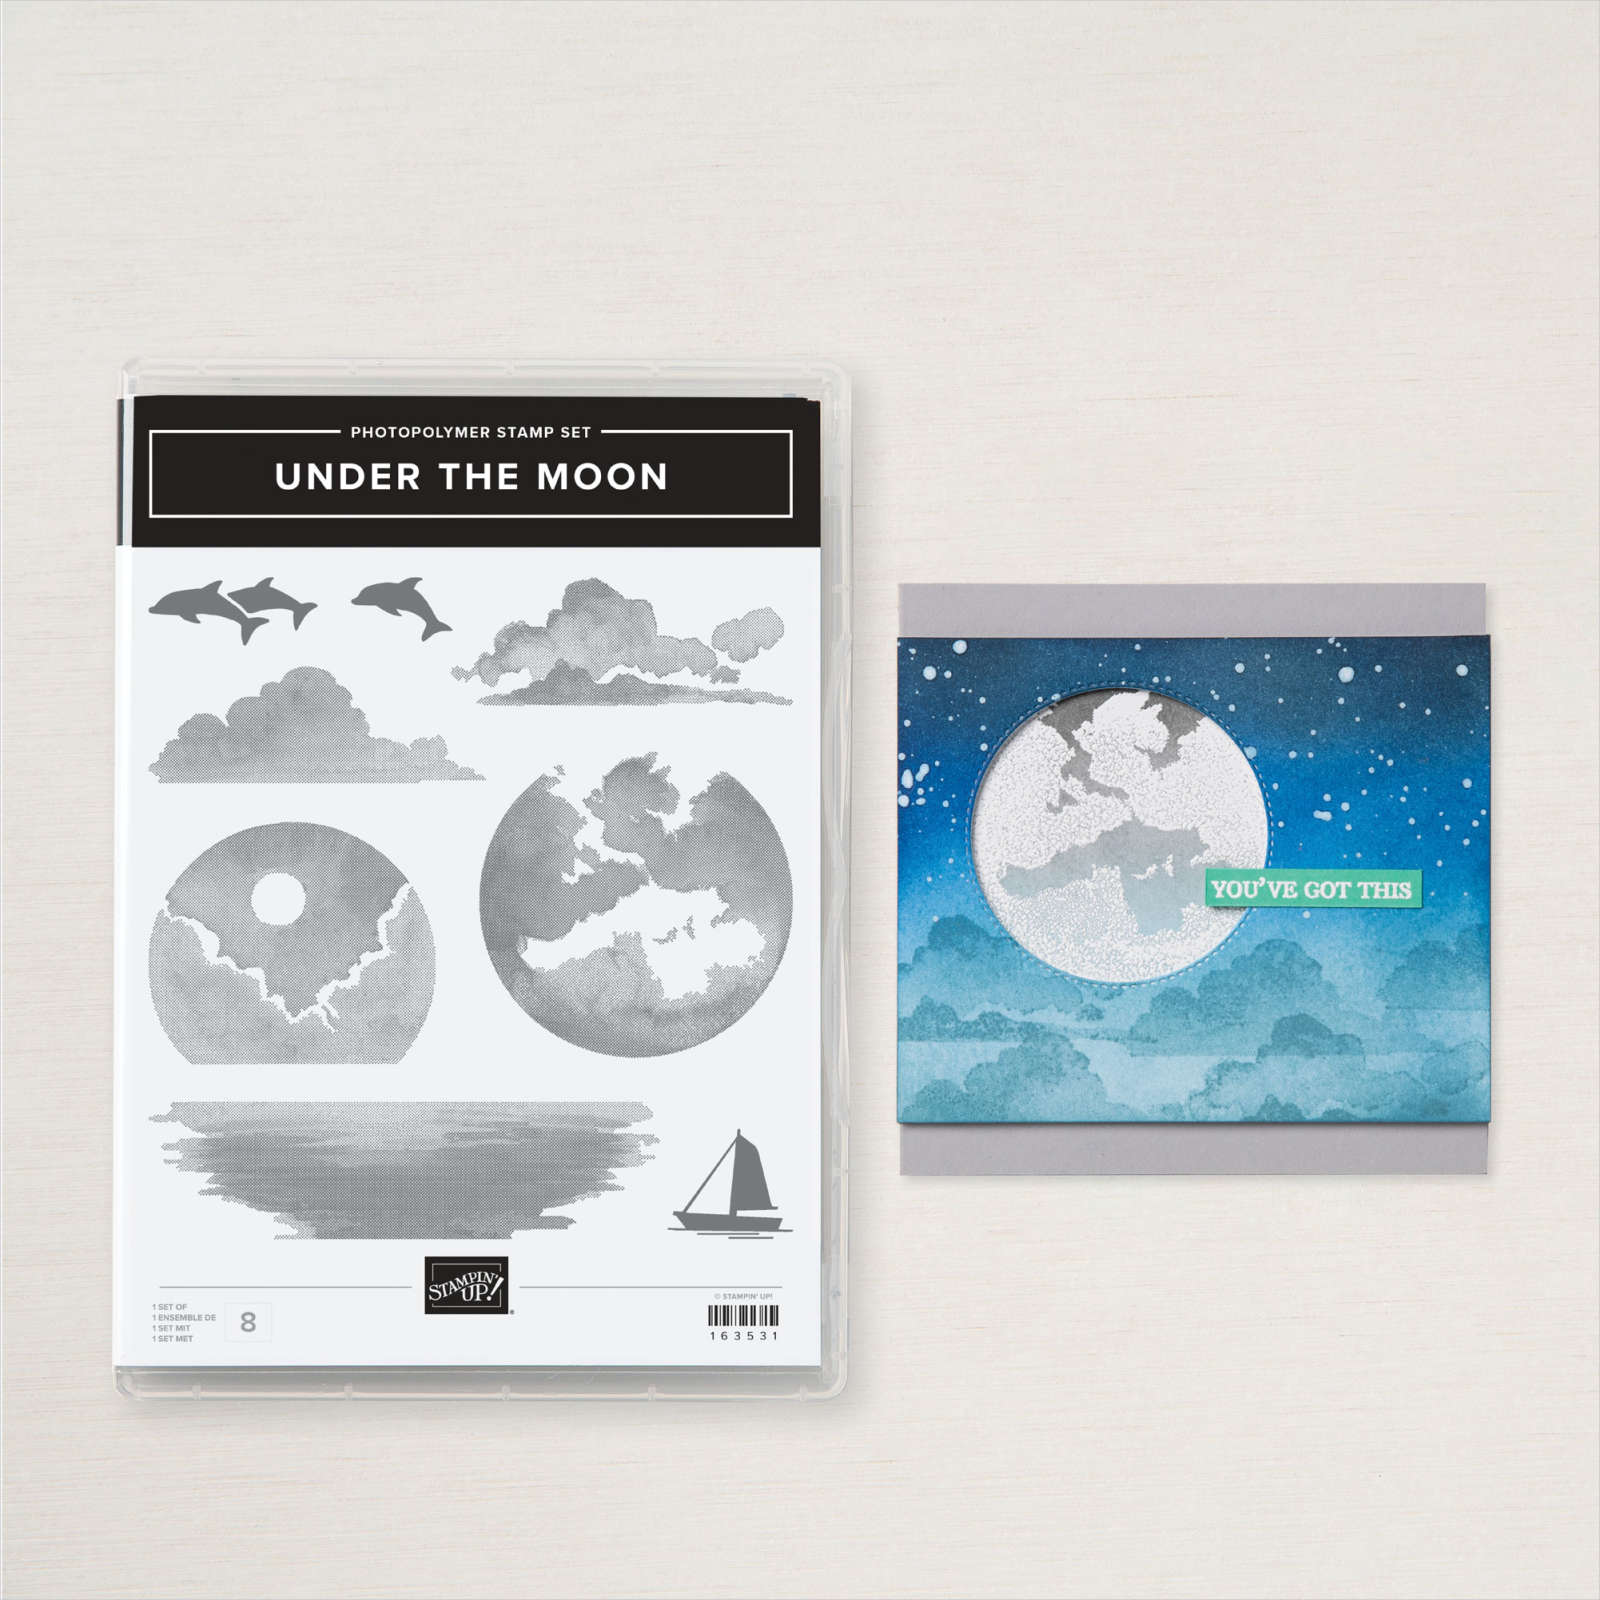
Reach for the stars with this easy Cosmic Background (also called Northern Lights Background), paired with Under the Moon stamp set.
Cosmic Background-Under the Moon How To:
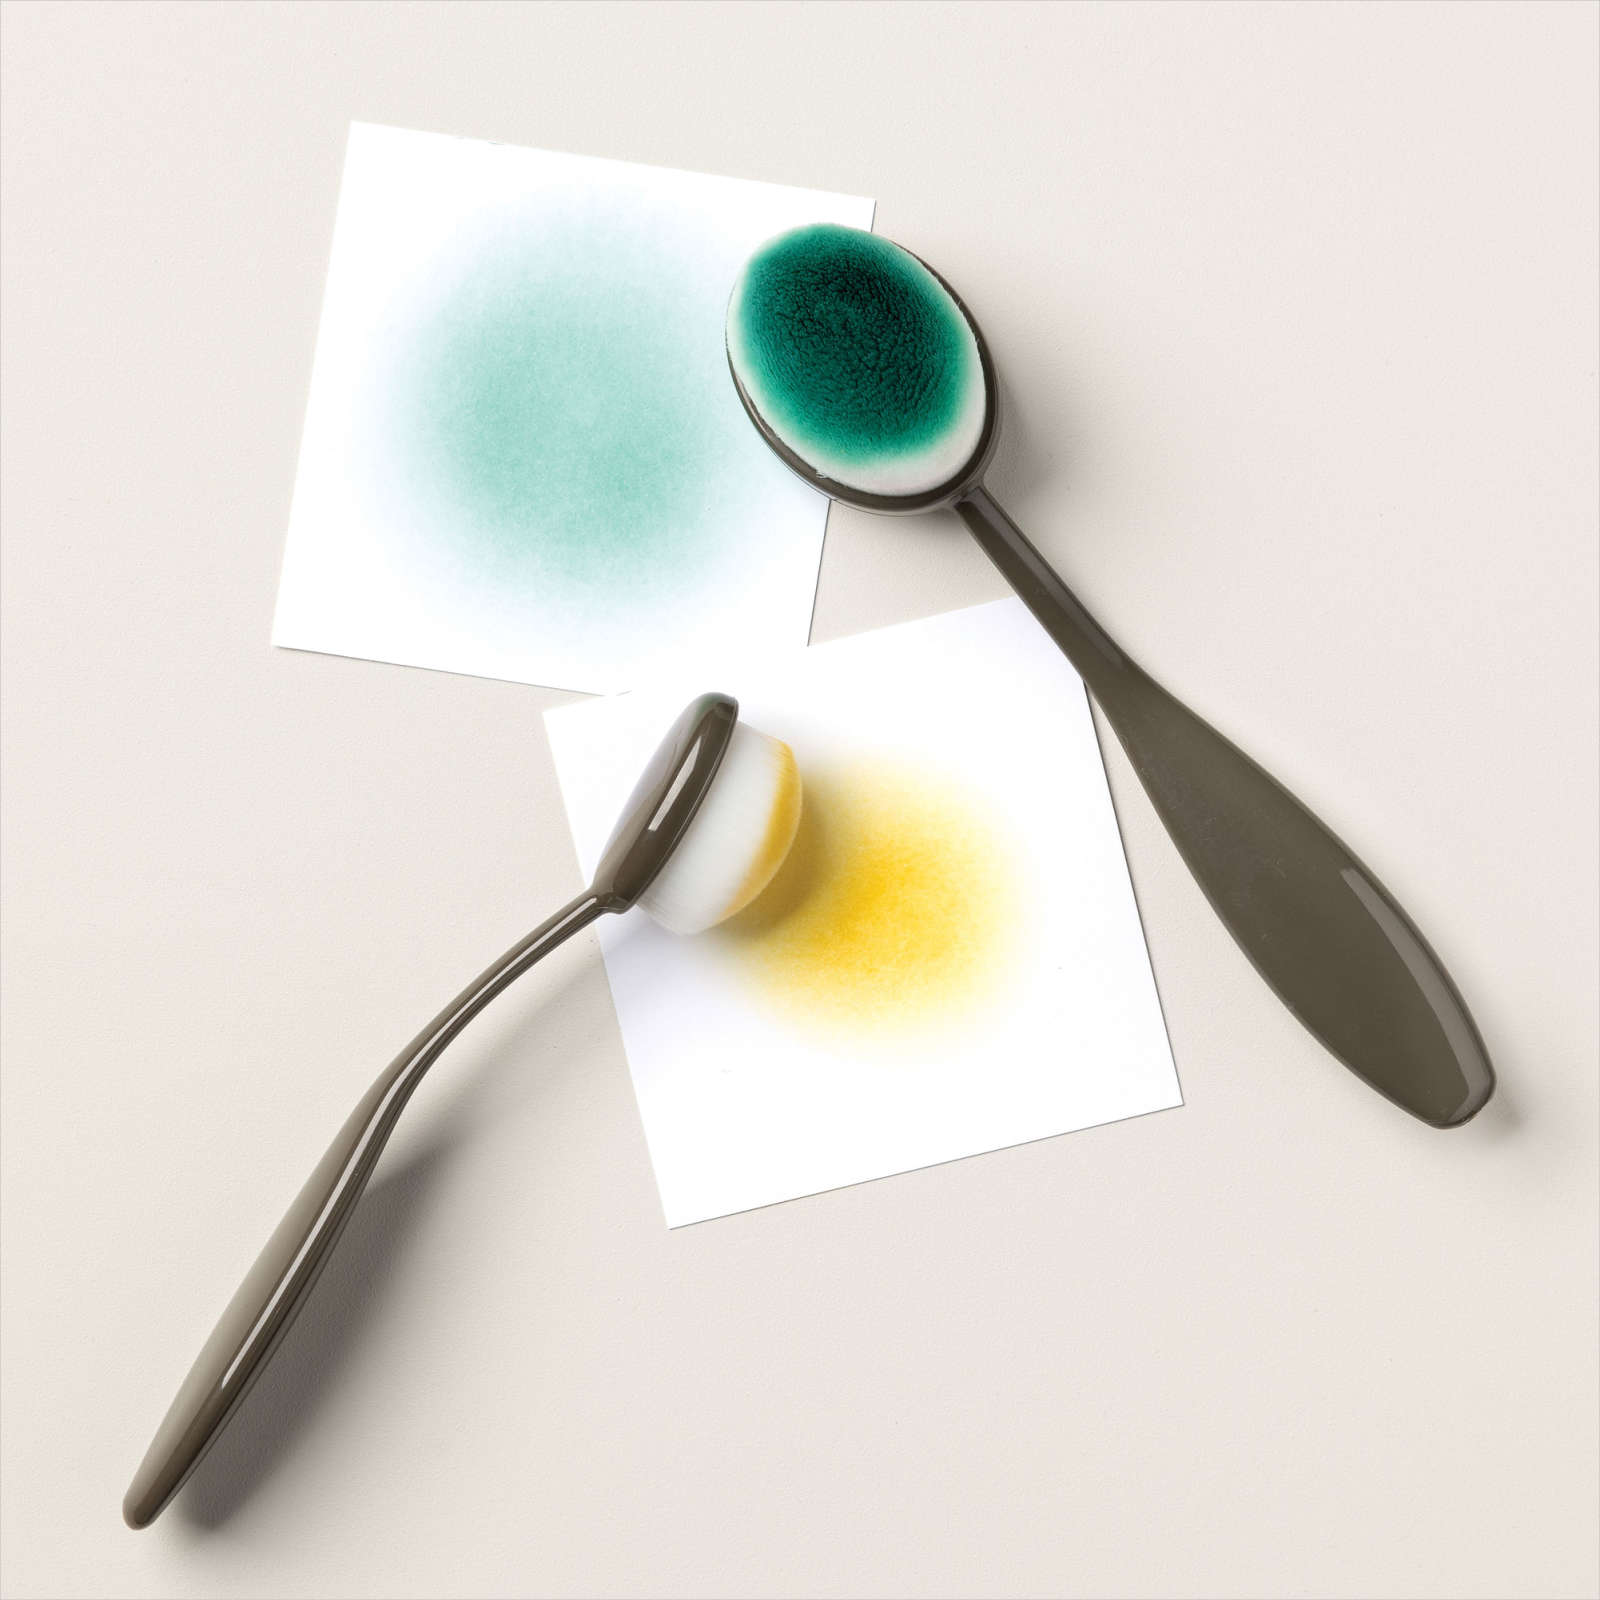
- To create cosmic background, apply ink to Basic White card base using a Blending Brushes. For this card, I used Crushed Curry, Gorgeous Grape, and Petal Pink.
- Spritz background with water. The ink will “splotch”, leaving white speckles.
- Let the card stock dry. Then, flick white craft ink mixed with a small amount of water using a paint brush onto the card front. I mixed the ink refill and water in a small plastic container that once held buttons. This will take some time to dry.
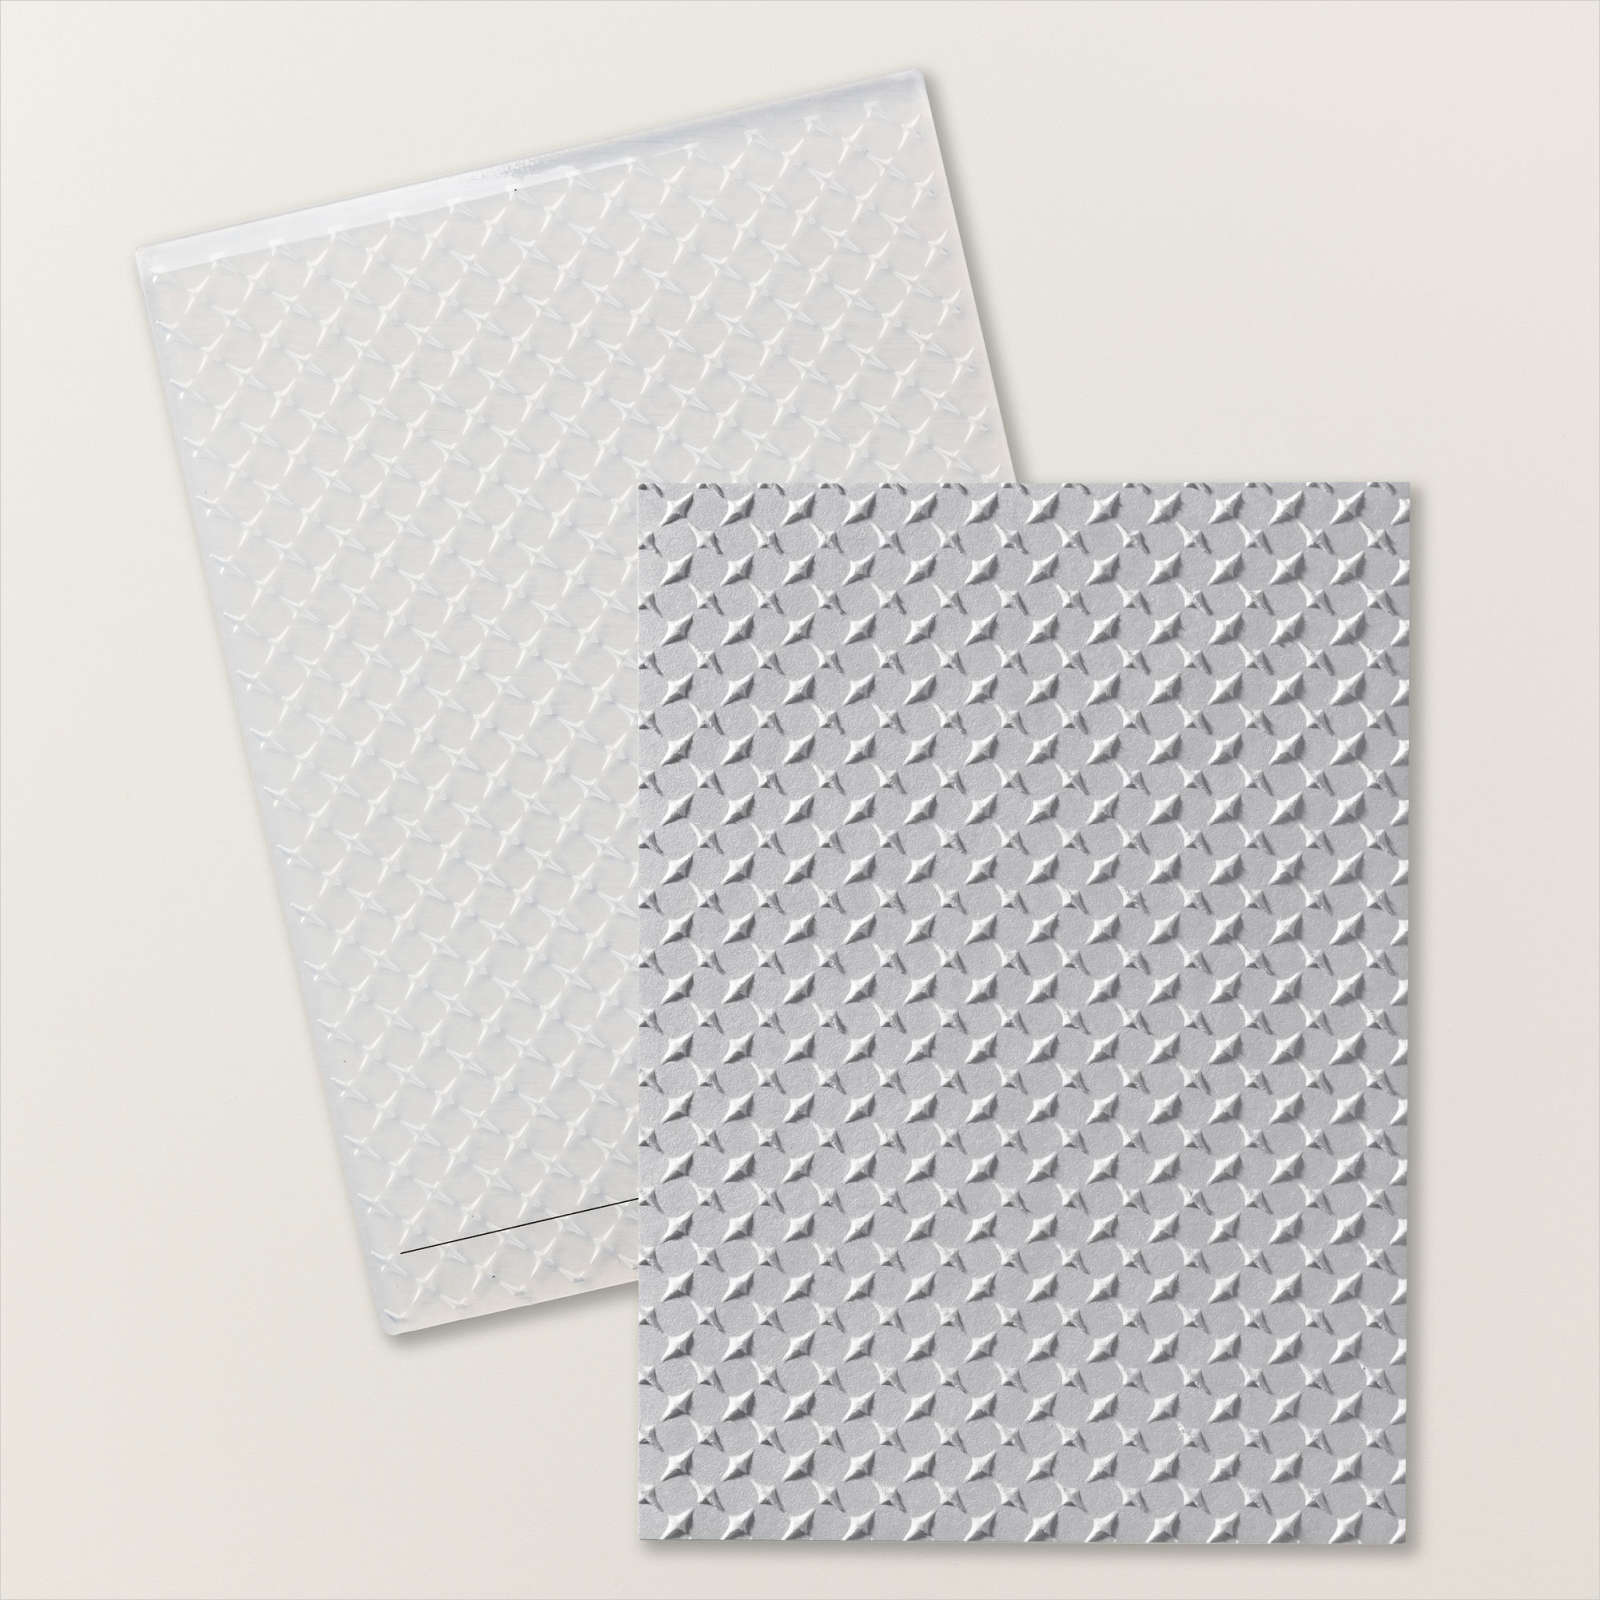
- While the background dries, tear a piece of Night of Navy card stock to create the “mountains.” Dry emboss it using Metal Plate embossing folder. Lightly add White Craft ink along the top of the mountains.
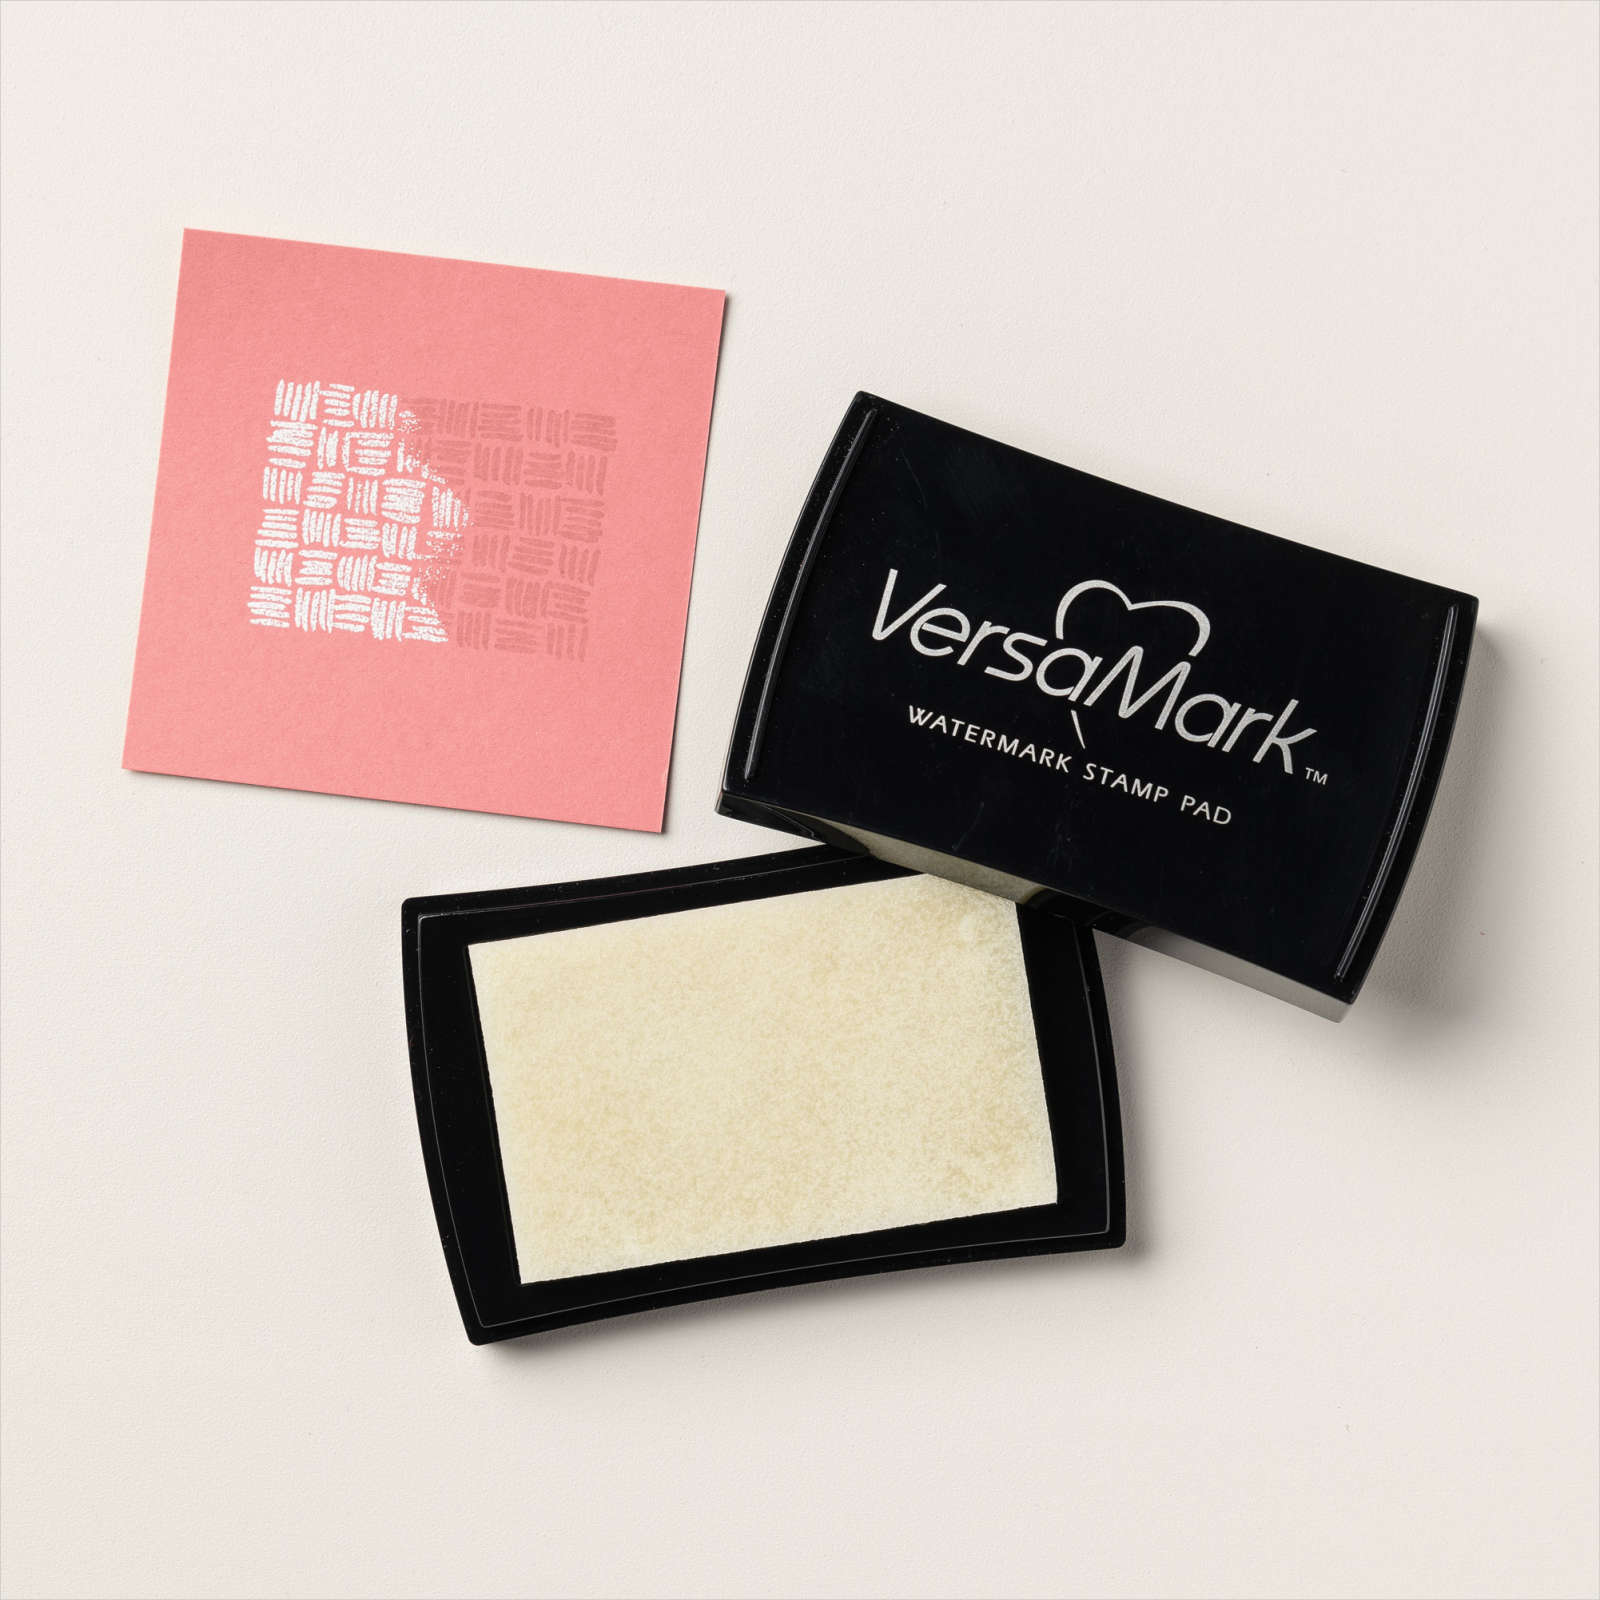
- Stamp moon from Under the Moon on Misty Moonlight card stock using Versamark ink. Heat emboss using a heat tool and white embossing powder. Die-cut or punch moon. I used a 2 1/4″ circle punch. Attach to Misty Moonlight 2 3/8″ circle mat.
- When the background has dried, lightly add Craft White ink using a Blending Brush. Add Night of Navy ink along the top and along the edges.
- Attach to Silver Foil mat. Attach to Night of Navy card base.
- Attach matted moon to card front using Mini Dimensionals to pop it up. Add mountains using Mini Dimensionals to pop them up.
- Using a Blending Brush, lightly add Balmy Blue ink to a scrap piece of Basic White card stock. Stamp greeting from Simply Zinnias using Night of Navy ink. Fussy cut greeting and add to card front using Mini Dimensionals.

