Country Woods Iris Folded Birdhouse

Iris folding is one of my favorite crafting techniques because it’s simple yet creates a stunning, dimensional effect.
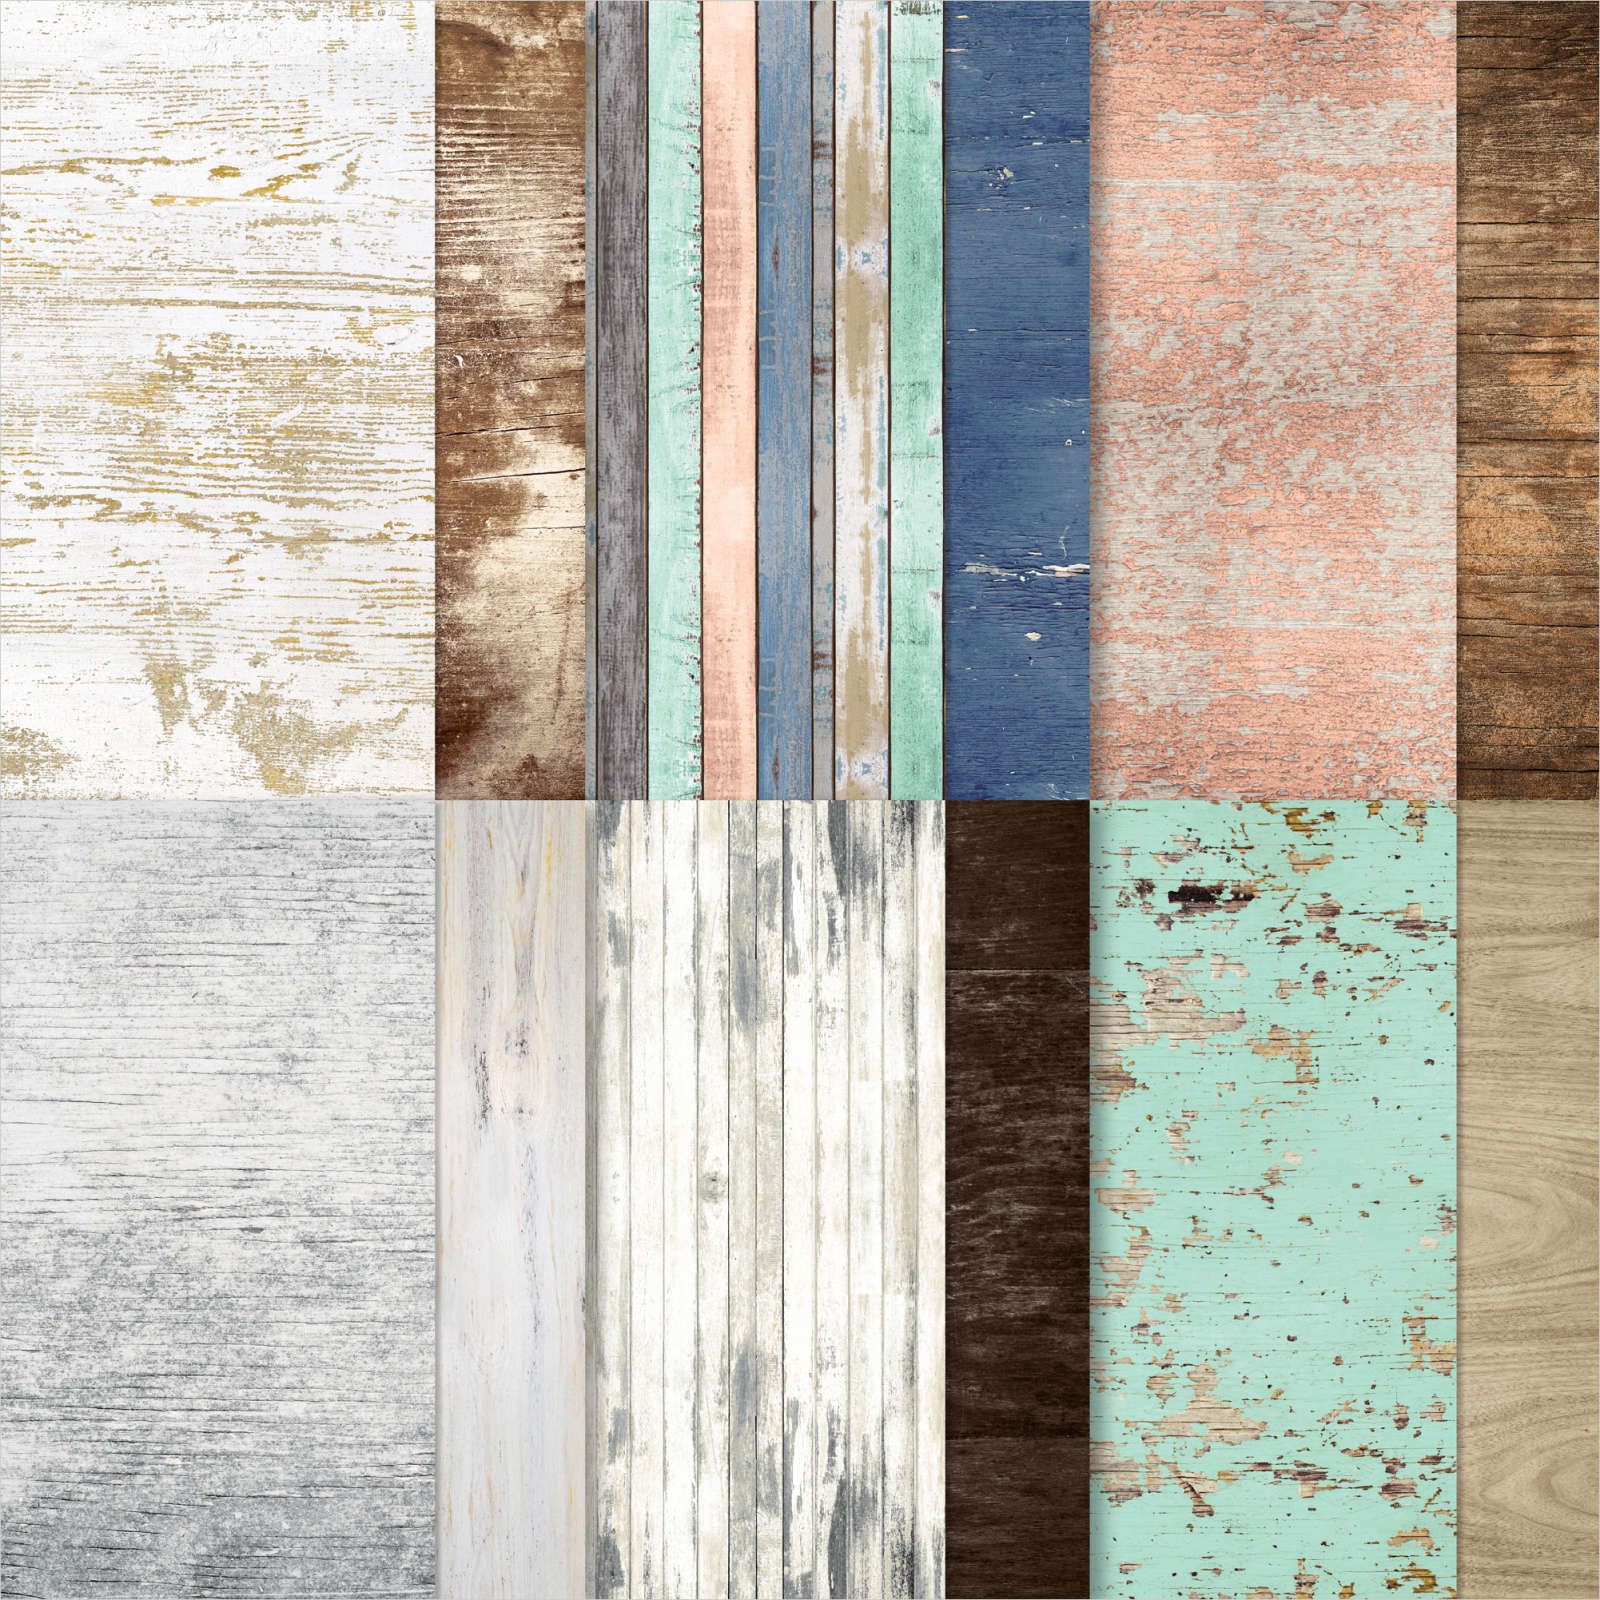
This eye-catching birdhouse card showcases the technique beautifully, using the warm, rustic patterns of the Country Woods Designer Series Paper.
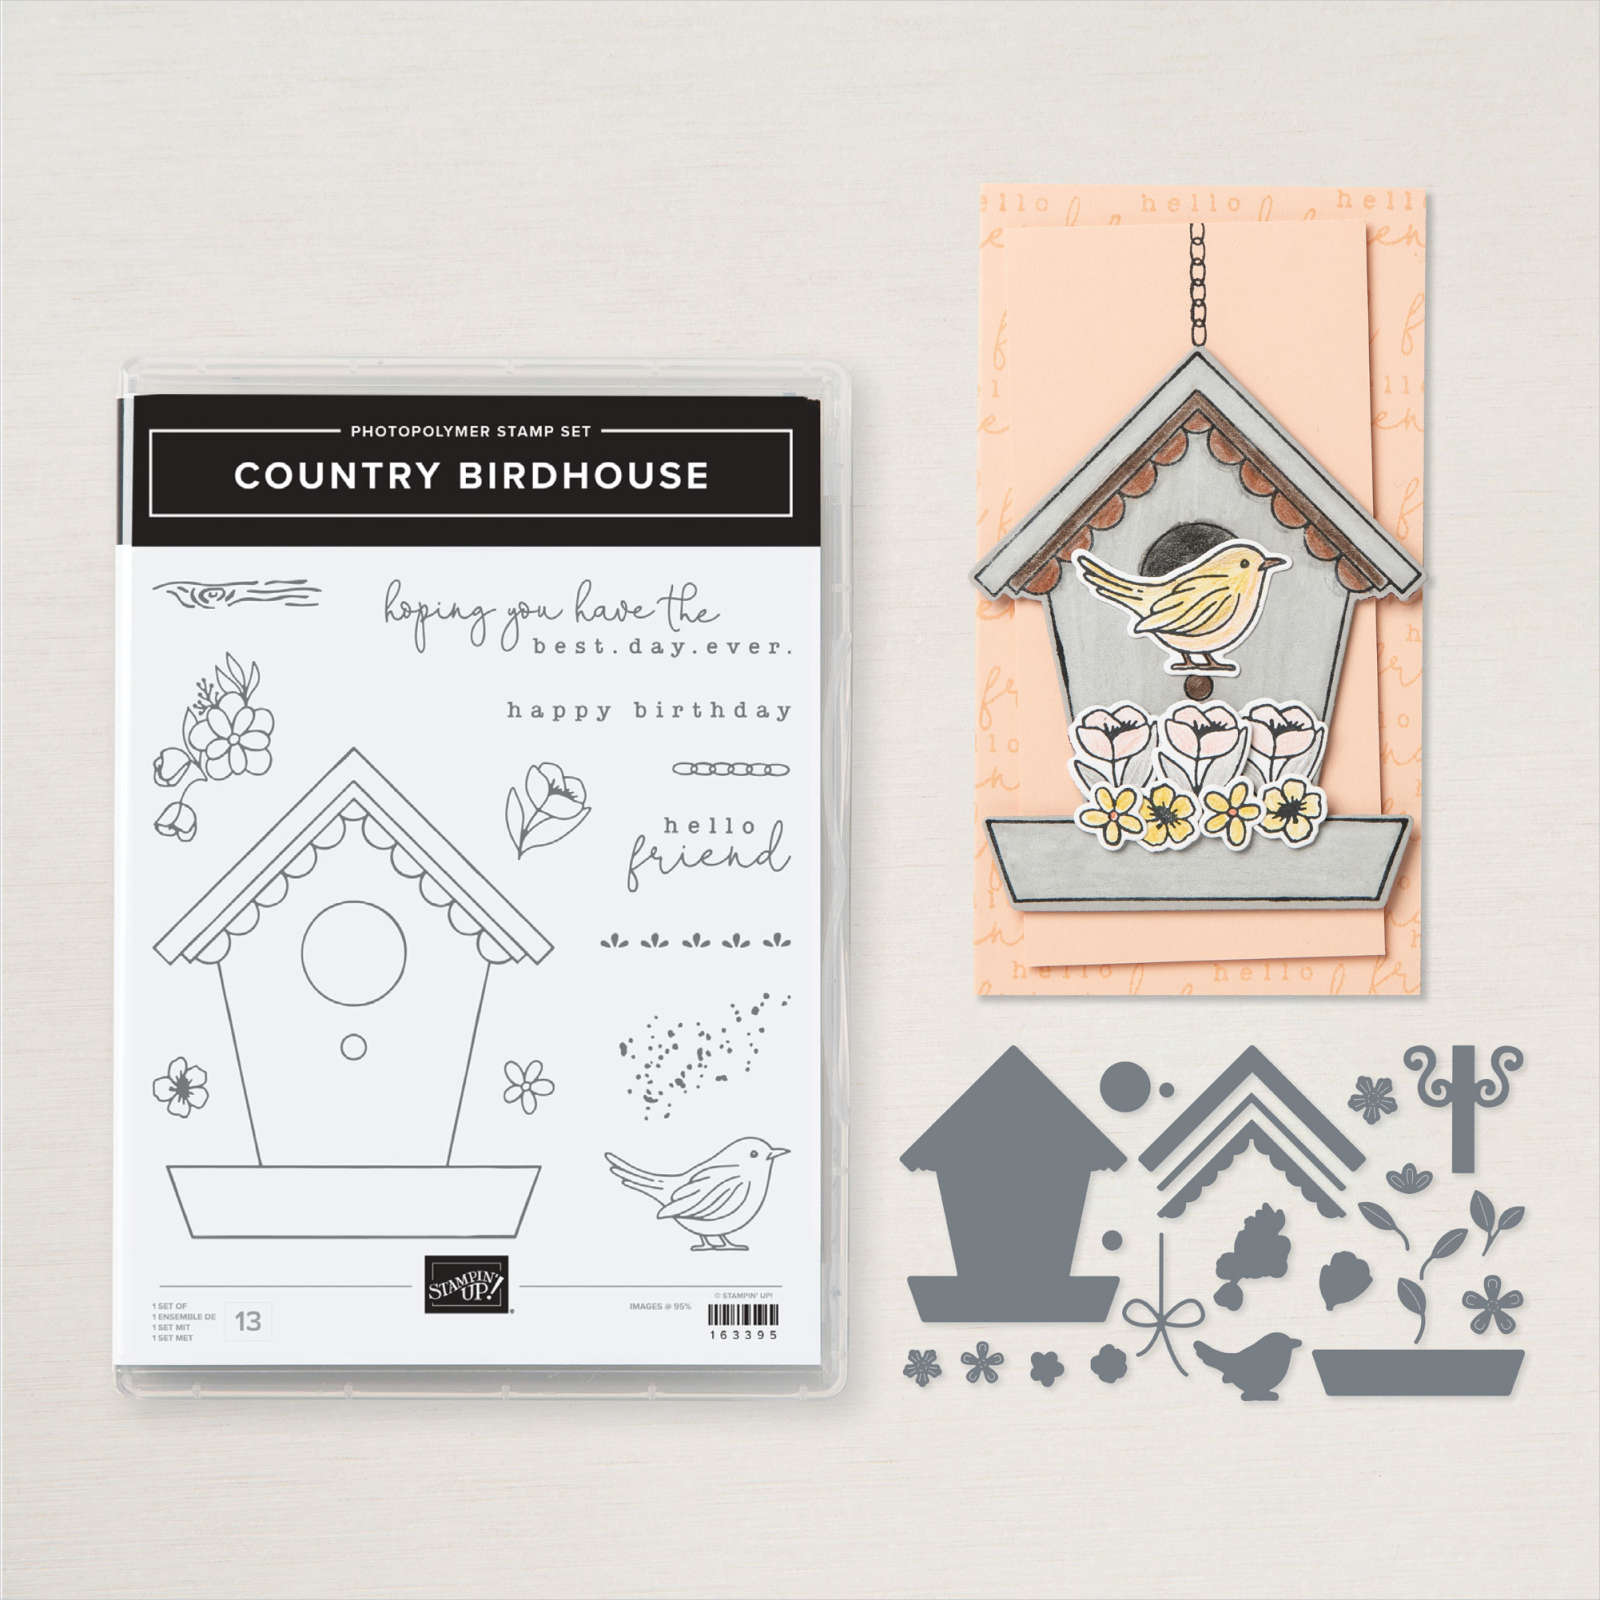
Paired with the charming Country Birdhouse dies, the spiraling design creates depth and texture, making this card a true standout.
Whether you’re new to Iris Folding or a seasoned crafter, this project is a fun and rewarding way to add a WOW factor to your paper crafting!
You can view more ideas, patterns, and how-to videos on my Iris Folding Page HERE
Be sure to watch my Country Woods Iris Folded Birdhouse How-to Video HERE

Country Woods Iris Folded Birdhouse How-to:
1. Print out the square Iris Folding Pattern found HERE.
This link has the 3 basic patterns for Iris Folding: circle, triangle, and square.
If you have a die or punch that is roughly the size of the pattern, print out 1 copy only. If you don’t, print out 2 copies.
2. Cut a square out of the card front.
-If you aren’t using a die or punch, cut one of the printed patterns using a pair of scissors. Lay it on your card front and trace around it using a pencil. Then, cut out the center with scissors, creating an opening.
-If you are using a die or punch, go ahead and cut out the square from the card front.
3.If you are going to stamp and/or emboss the card front, do so BEFORE you start the Iris Folding pattern.
4. Place the card front FACE DOWN on the printed pattern, lining up the opening with the pattern below. Secure the card front using a strip of washi or painter’s tape along the left edge of the card front. This creates a “hinge” which allows you to flip up the piece to check your progress from the front if desired.
You always work from the BACK of the piece when Iris Folding.
5.Cut 4 designs of Country Woods DSP into 1/2″ strips.
TIP: Place the strips FACE DOWN in the order that you’ll be using them. This will help you keep track, especially when the pattern has 4 or more sections.
Remember, you’ll be looking at the back side of the DSP as you work the pattern.
6. Apply adhesive around the square cut-out. Place the 1st strip of DSP face down along #1 of the pattern. Continue with the 2nd strip of DSP along #2 of the pattern, the 3rd strip along #3 of the pattern, then the 4th strip along #4 of the pattern. Continue working around each section of the pattern until you have covered it, leaving an opening in the center, the Iris.
7. Place a piece of glimmer paper or similar over the opening, covering the Iris. I used a small piece of laminated burlap sheet from my stash for this card.
Usually, the Iris piece is a special piece of paper, glimmery or textured.
Done!
Your Iris Folded piece is complete.
8. Now to finish the card:
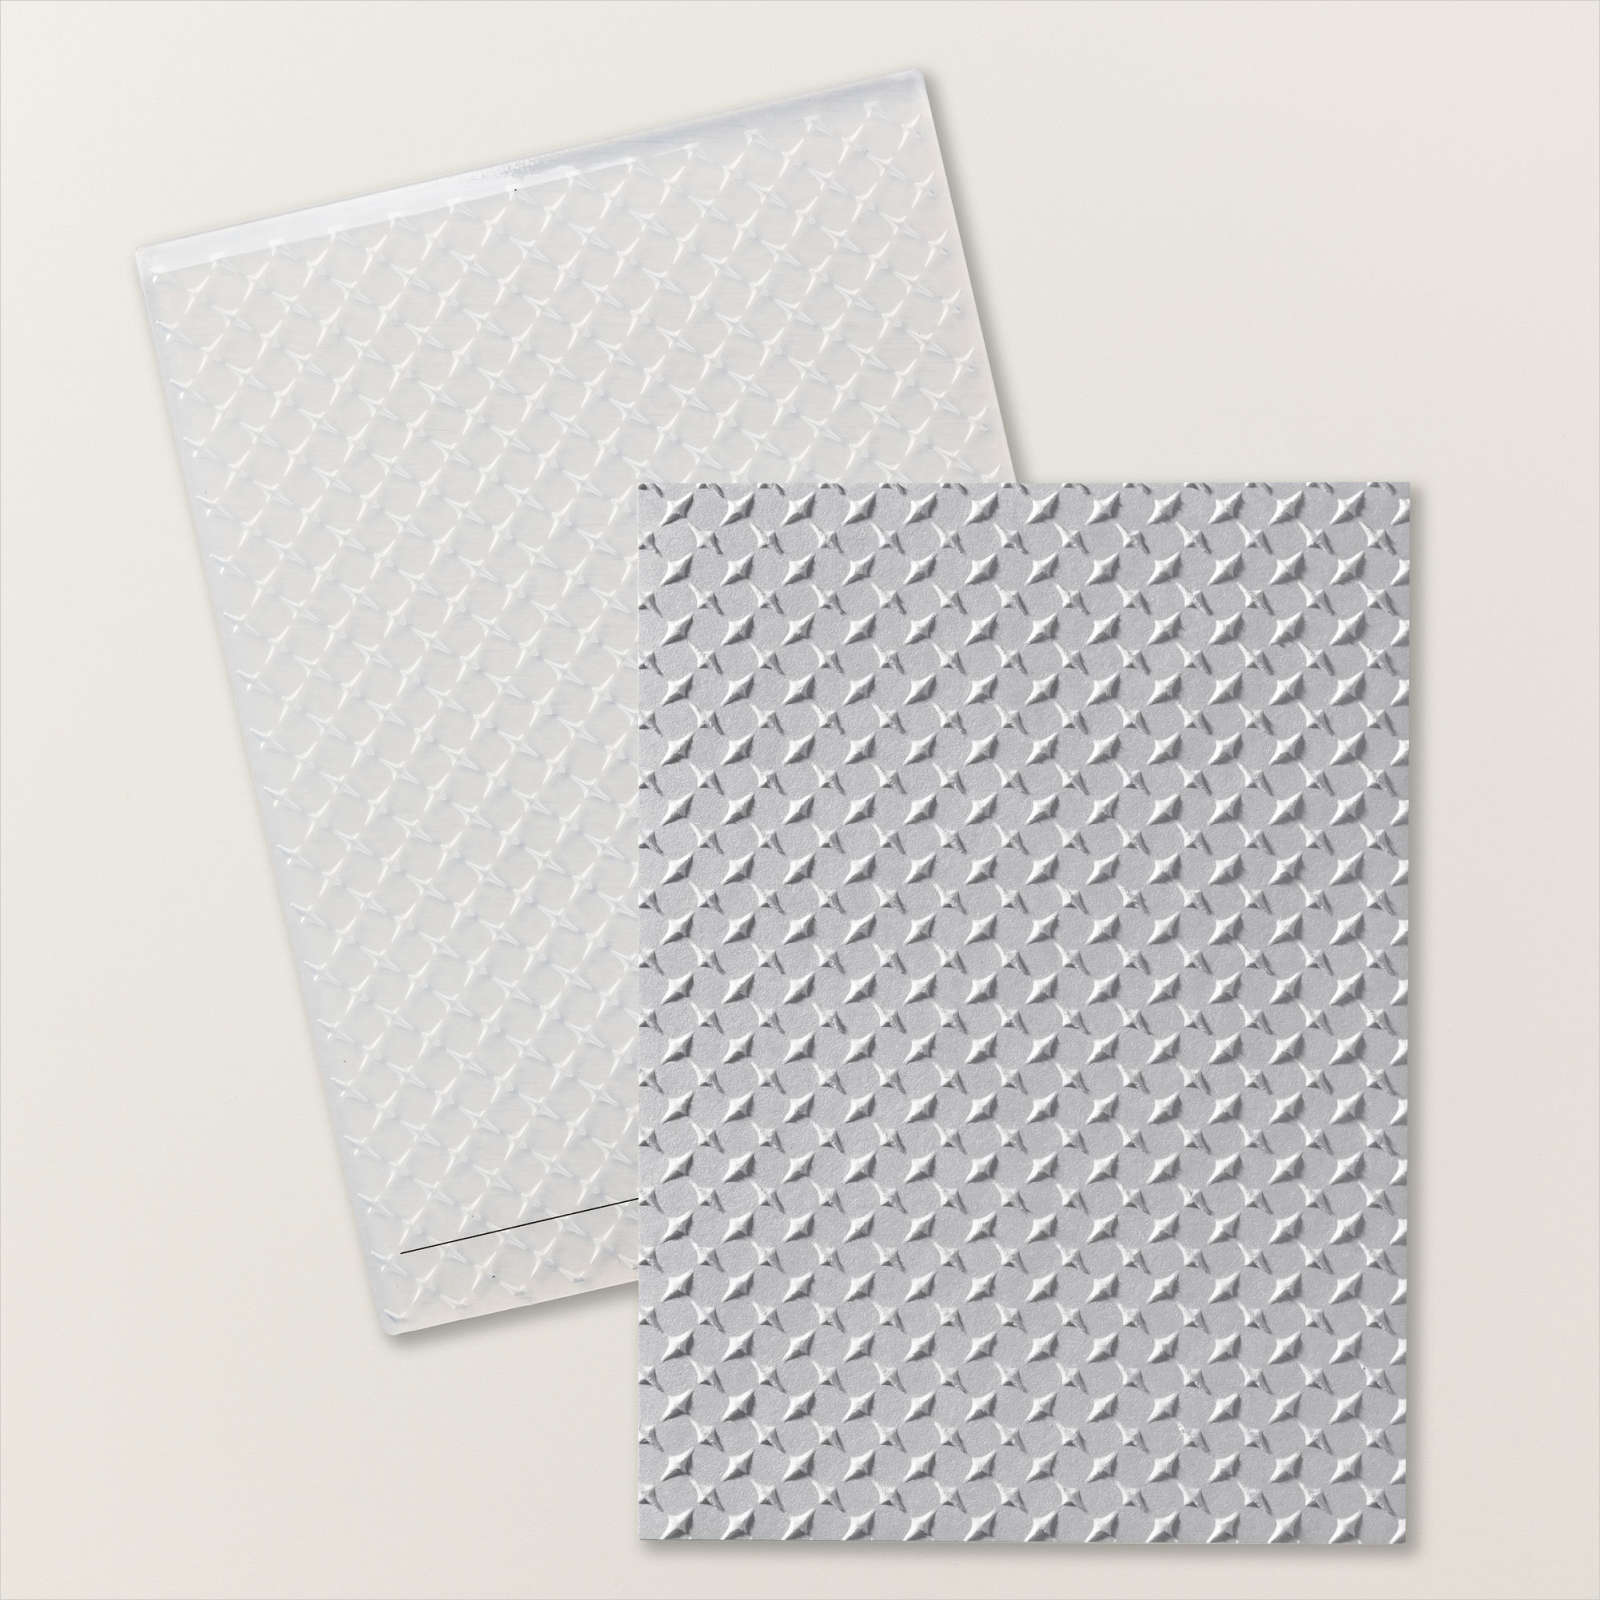
-die-cut roof pieces, perch, flowers, and leaves out of Pebbled Path, Smoky Slate, Lost Lagoon, Perfect Peacock, Petal Pink, Pool Party, and Basic White card stock using the Country Birdhouse Dies. I embossed the roof and perch using the Metal Plate Embossing Folder for added texture.
-stamp the bird using Pebbled Path ink and color. I used Watercolor Pencils. Die-cut bird.
-attach roof pieces to the top of the square. Add the perch to the bottom of the square. Slip the bird behind the perch. Add the flowers and leaves using Mini Dimensionals to pop them up. Add the bow to the roof, and gems to the centers of the flowers.
-attach the card front to Pebbled Path mat. Attach to Pretty Peacock card base.
Shop Online 24/7: